Timesheet
Weekly Time Entry
Weekly time entry is used to add time entries for an entire week.
With weekly time entries, we can record times for other people as well.
=> Applies to users with Manager rights and above.
=> Applies to users with Manager rights and above.
How to Add a Weekly Time Entry?
In the top menu, select the Timesheet tab and then click on Add New Time Entry on the right.
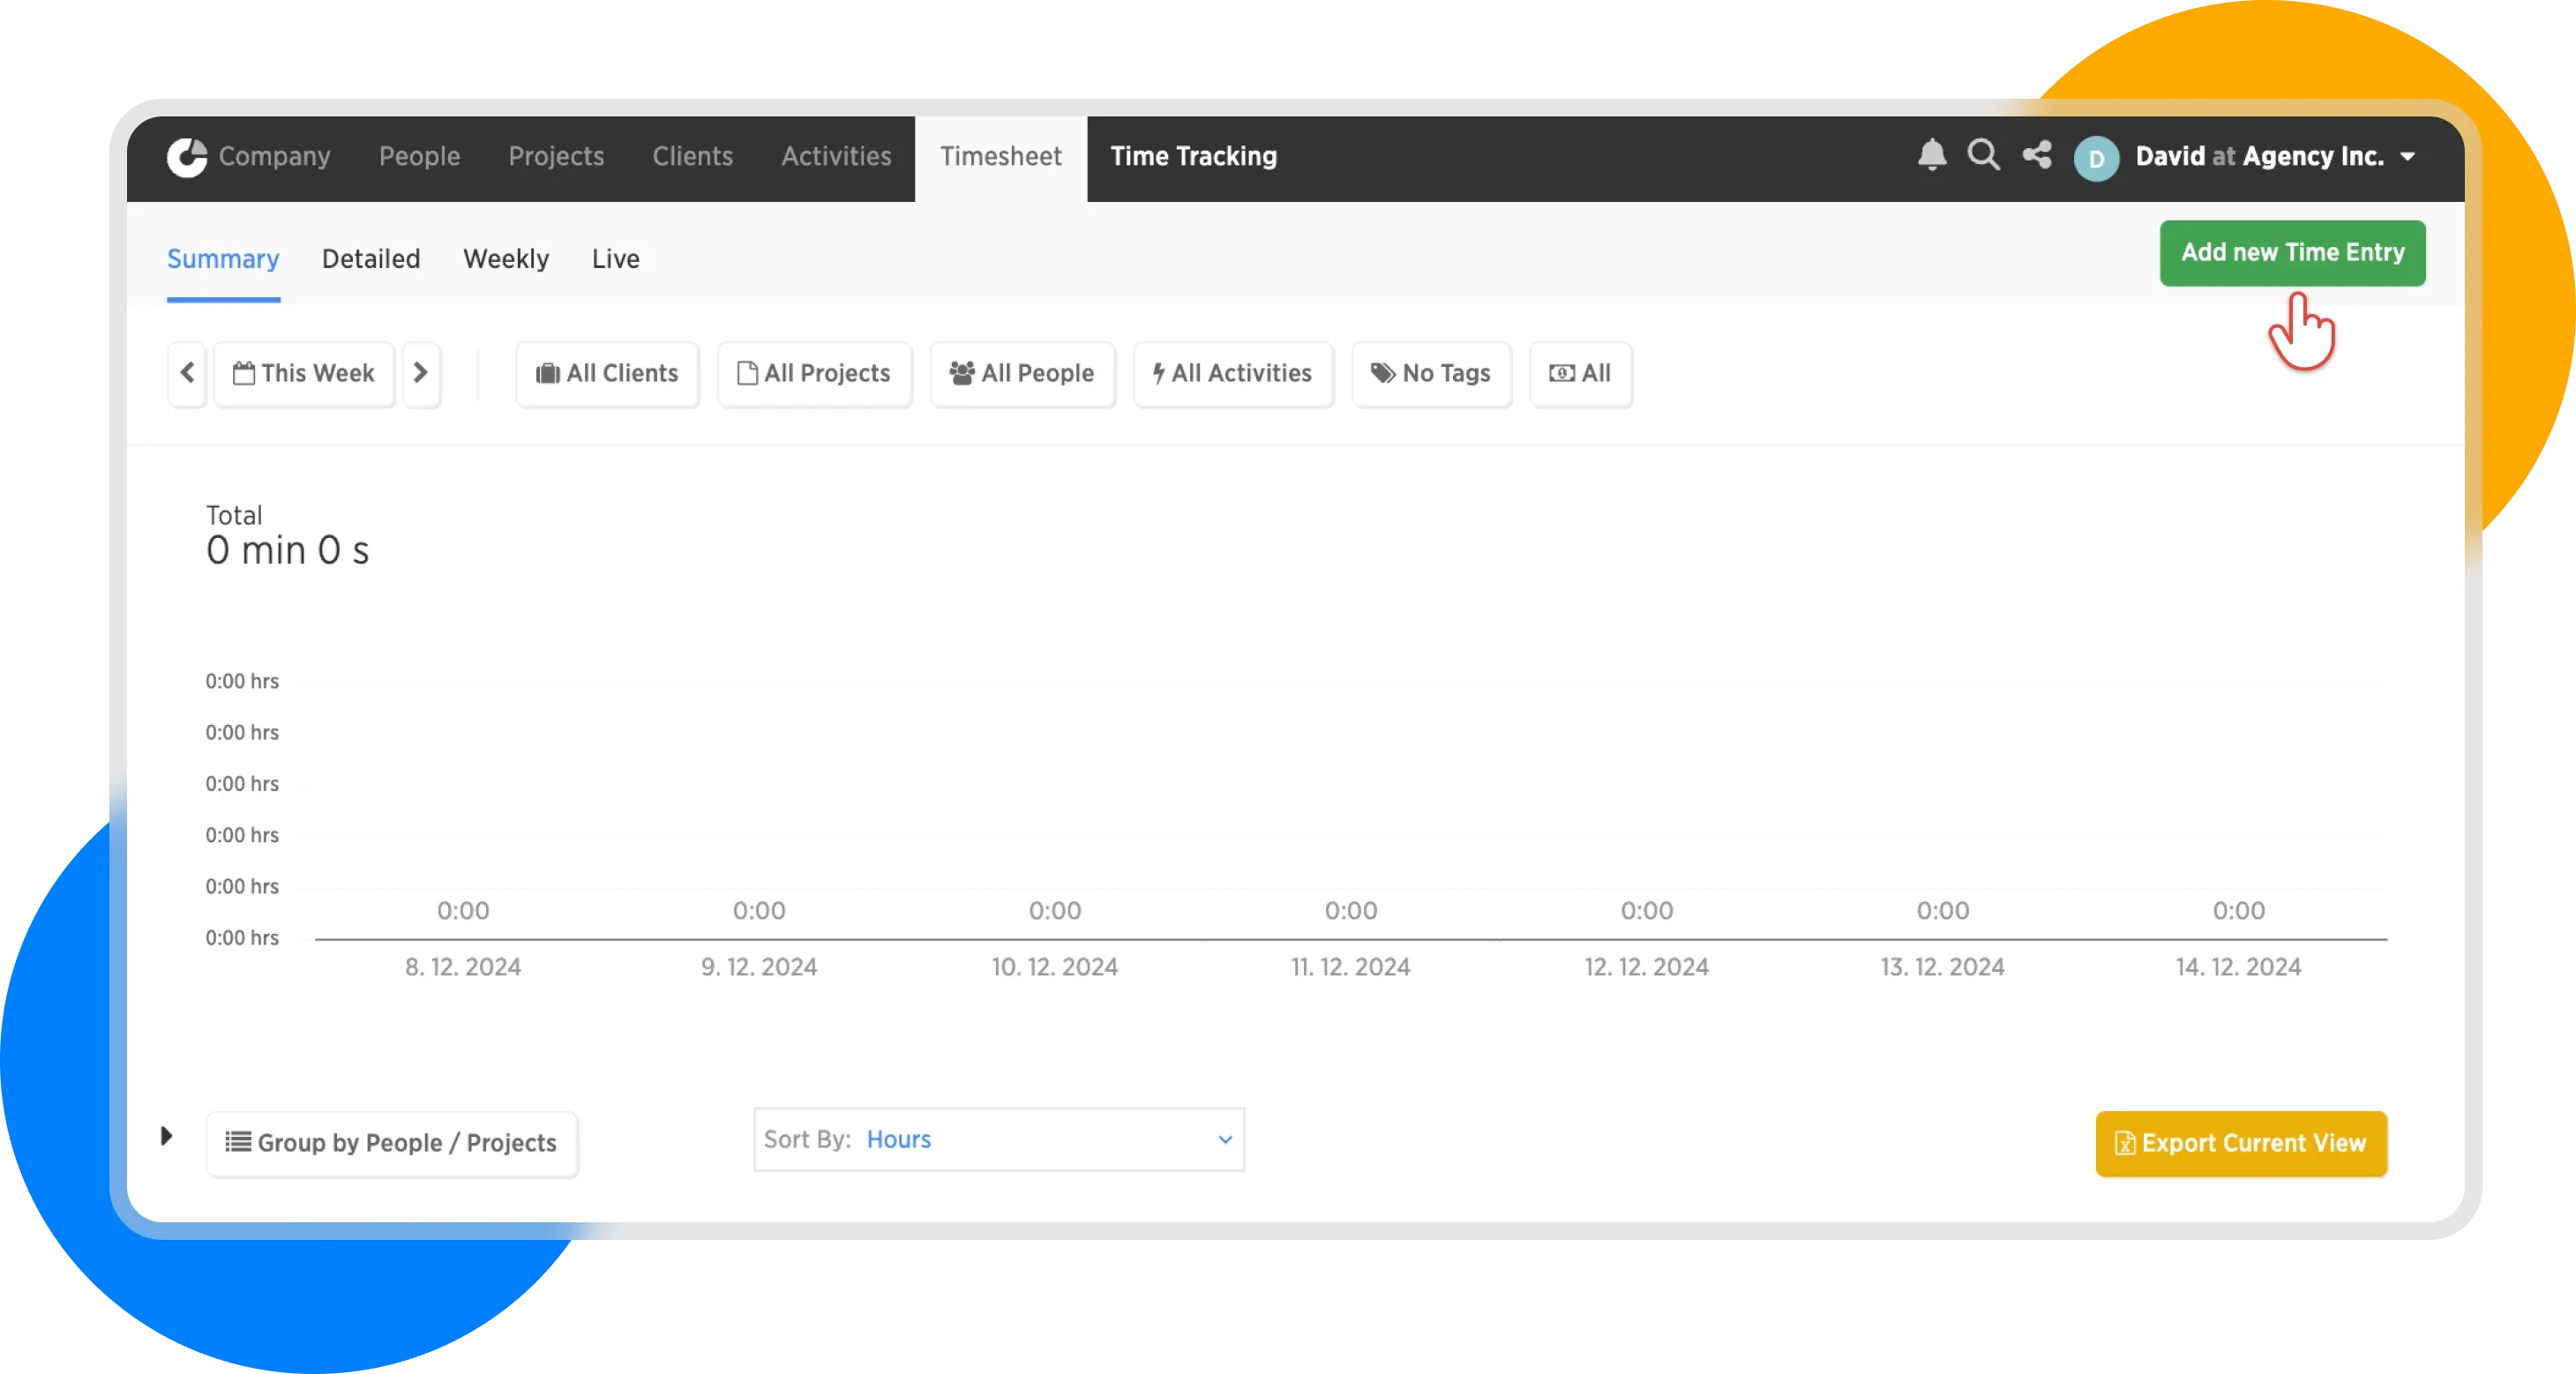
Timesheet view
After clicking, a dialog window for adding a new time entry will appear. Here, select Weekly Entry.
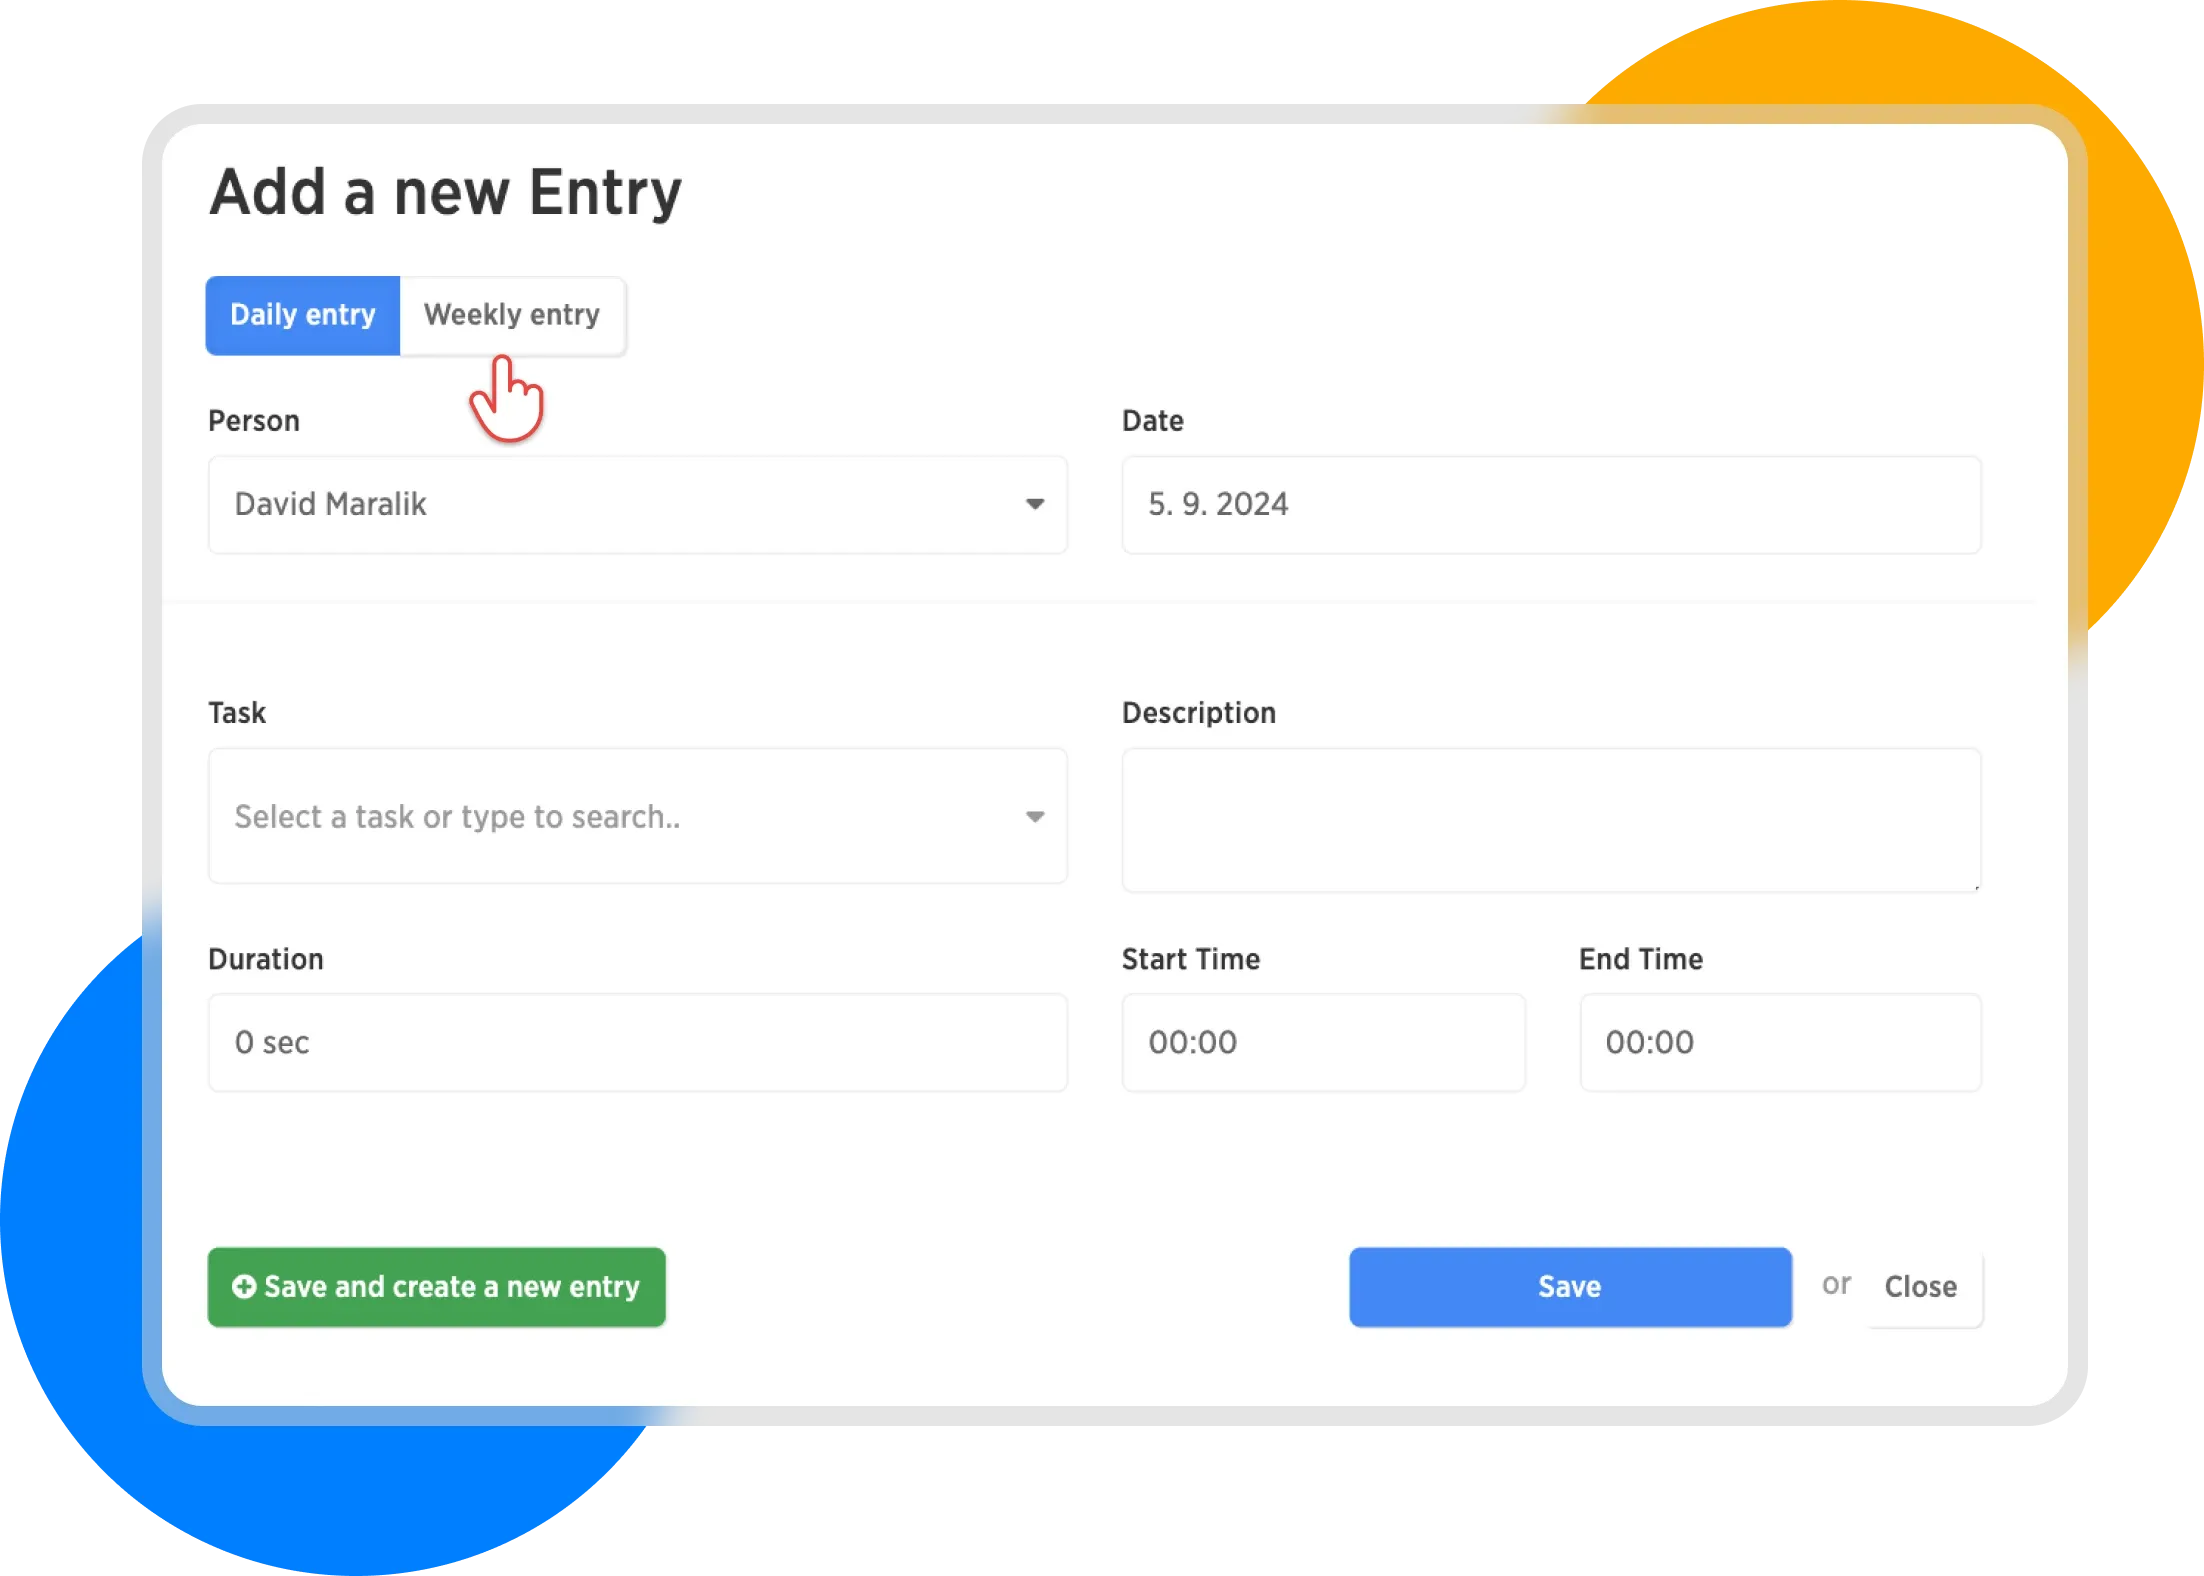
Pop up window to add new time entry - Weekly entry
Next, a form for entering a weekly time entry will appear.
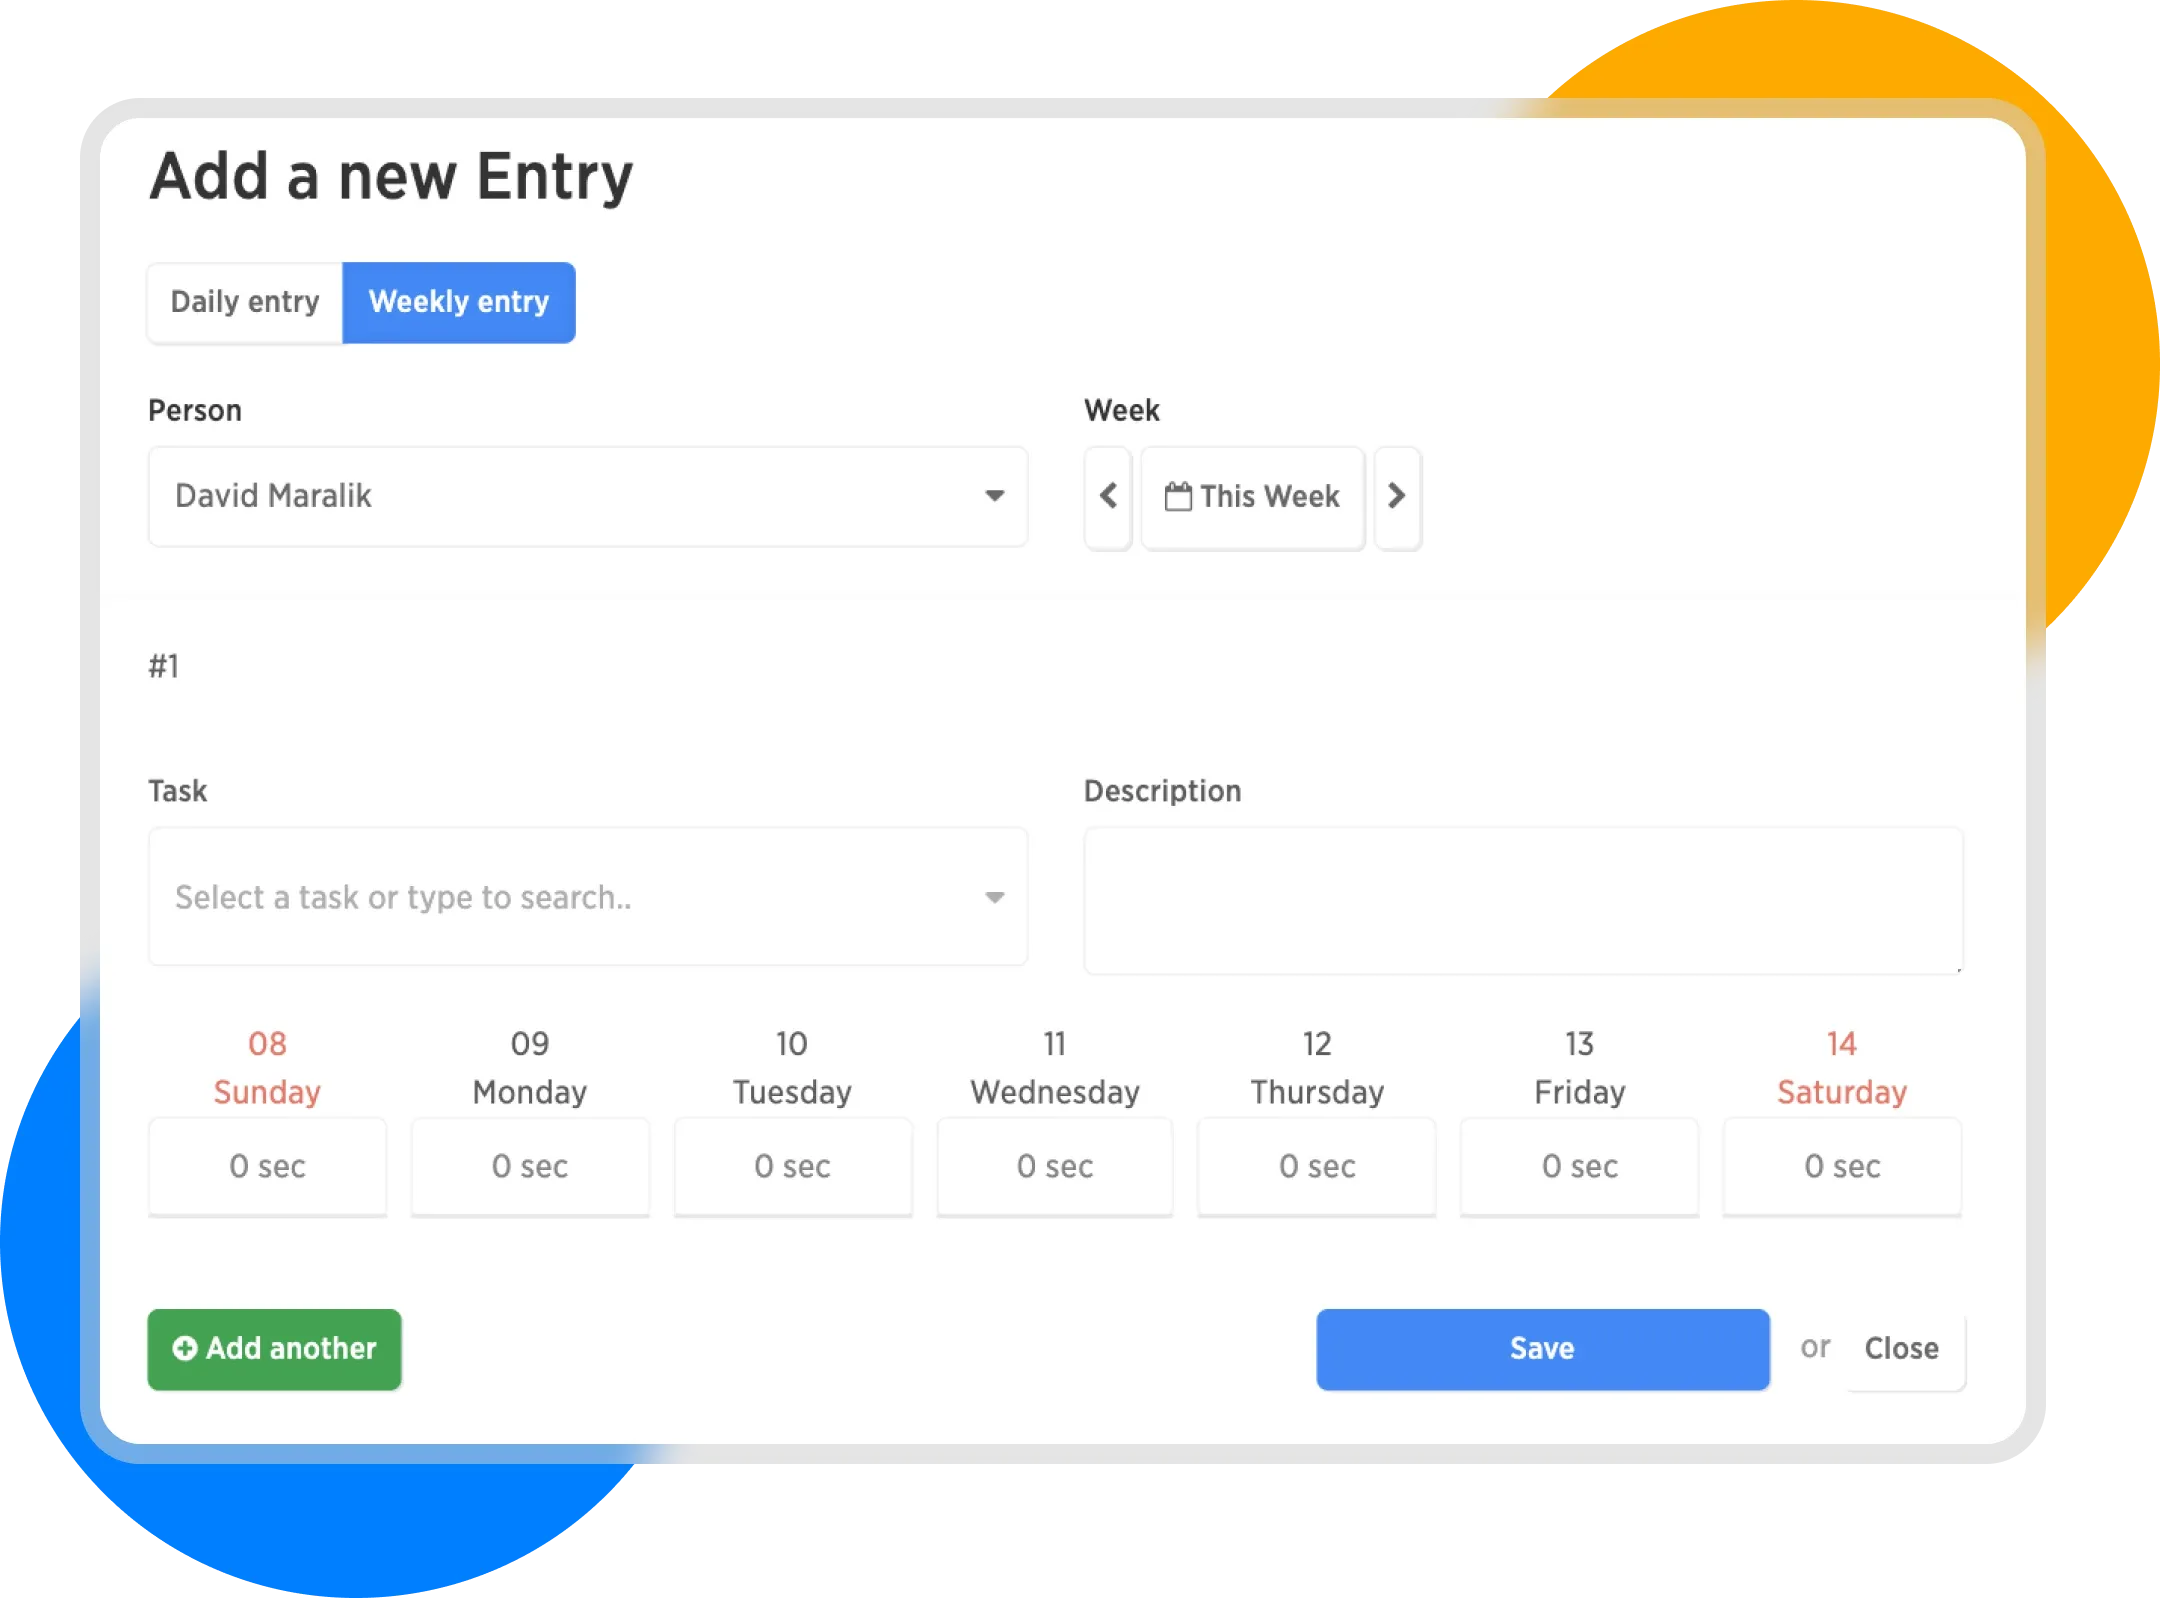
Weekly entry
Here, we can change the person and select the week for which we want to fill in the weekly time entry.
Next, select the task, enter a description, and input the time spent for the entire week.
Here is an example of a filled entry:
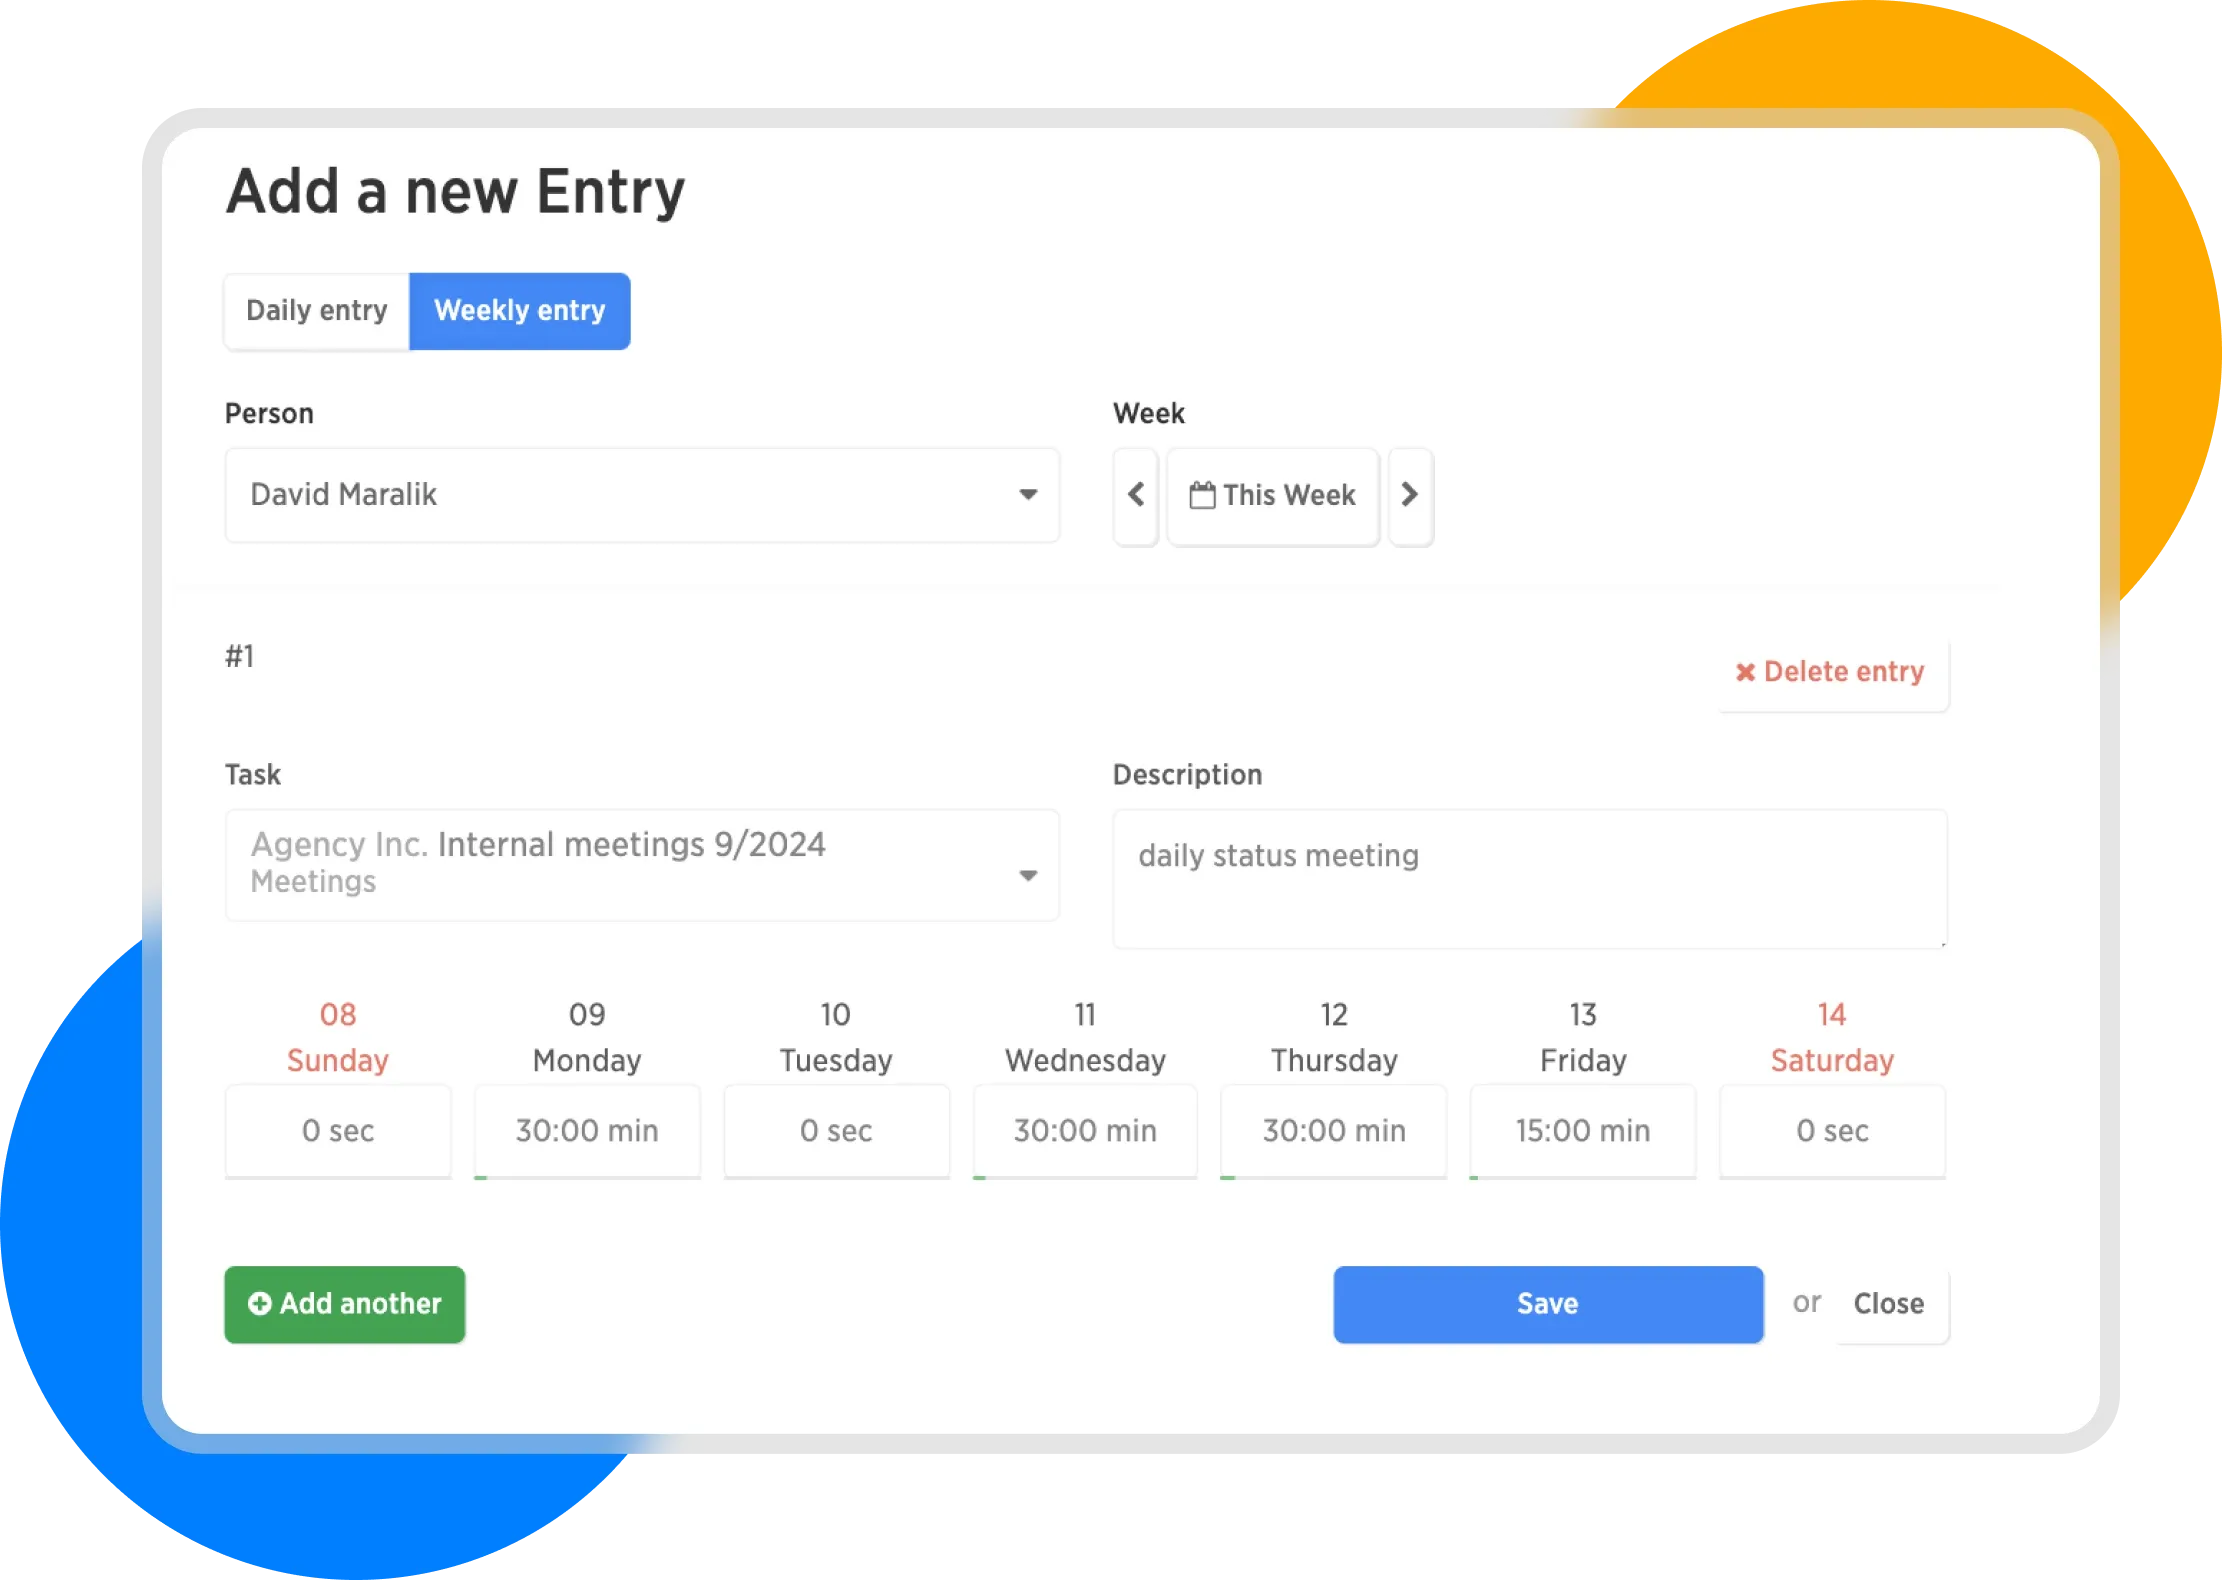
An example of a filled Weekly entry
After filling out the form, save the entries for the entire week by clicking the Save button.
By clicking the Add More button, you can add additional items with separate time entries.