Time Tracking
2 Ways to Record Spent Time
- Start/Stop Mode - You can track time in the browser or use our desktop application for Mac and Windows, or our iOS Mobile app.
- Timesheet - Suitable for retroactive or bulk entry of worked time
We'll demonstrate the first approach. The second can be found in the Timesheet guide.
Time Tracking Using Start/Stop
Navigate to Time Tracking in the main menu.
You will see the following table:
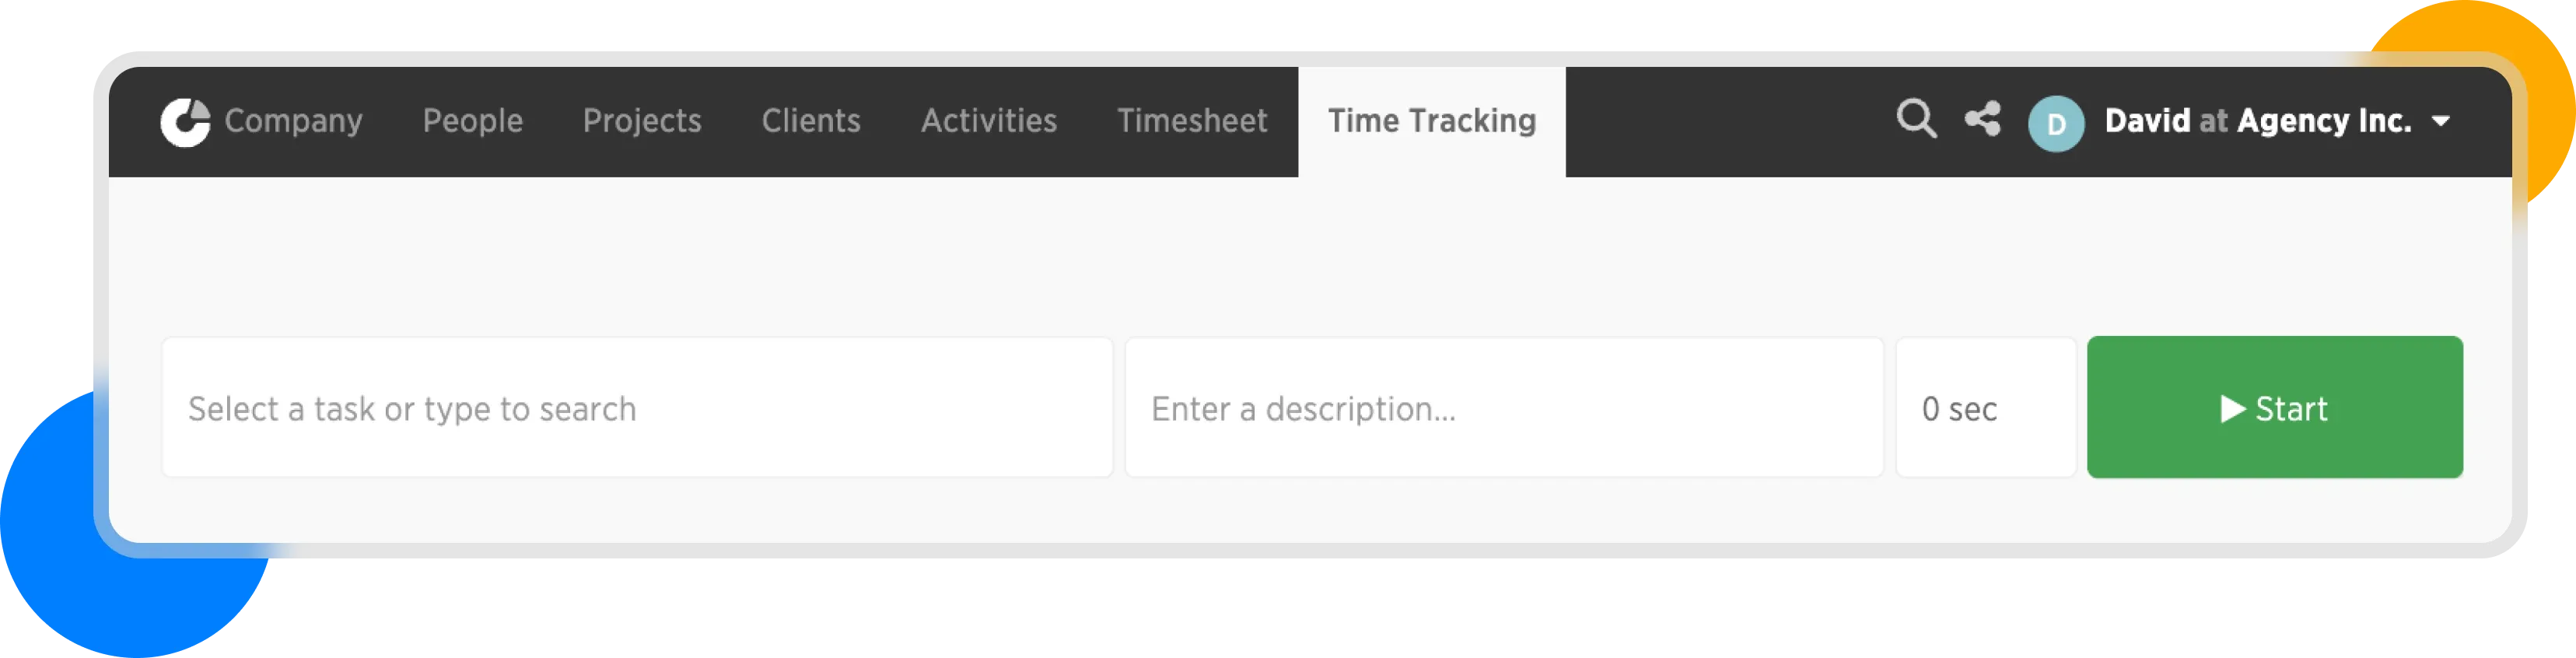
Time Tracking
In the Select a task or type to search field, search for the task for which you want to track time. (You must be assigned to a project's budget.)
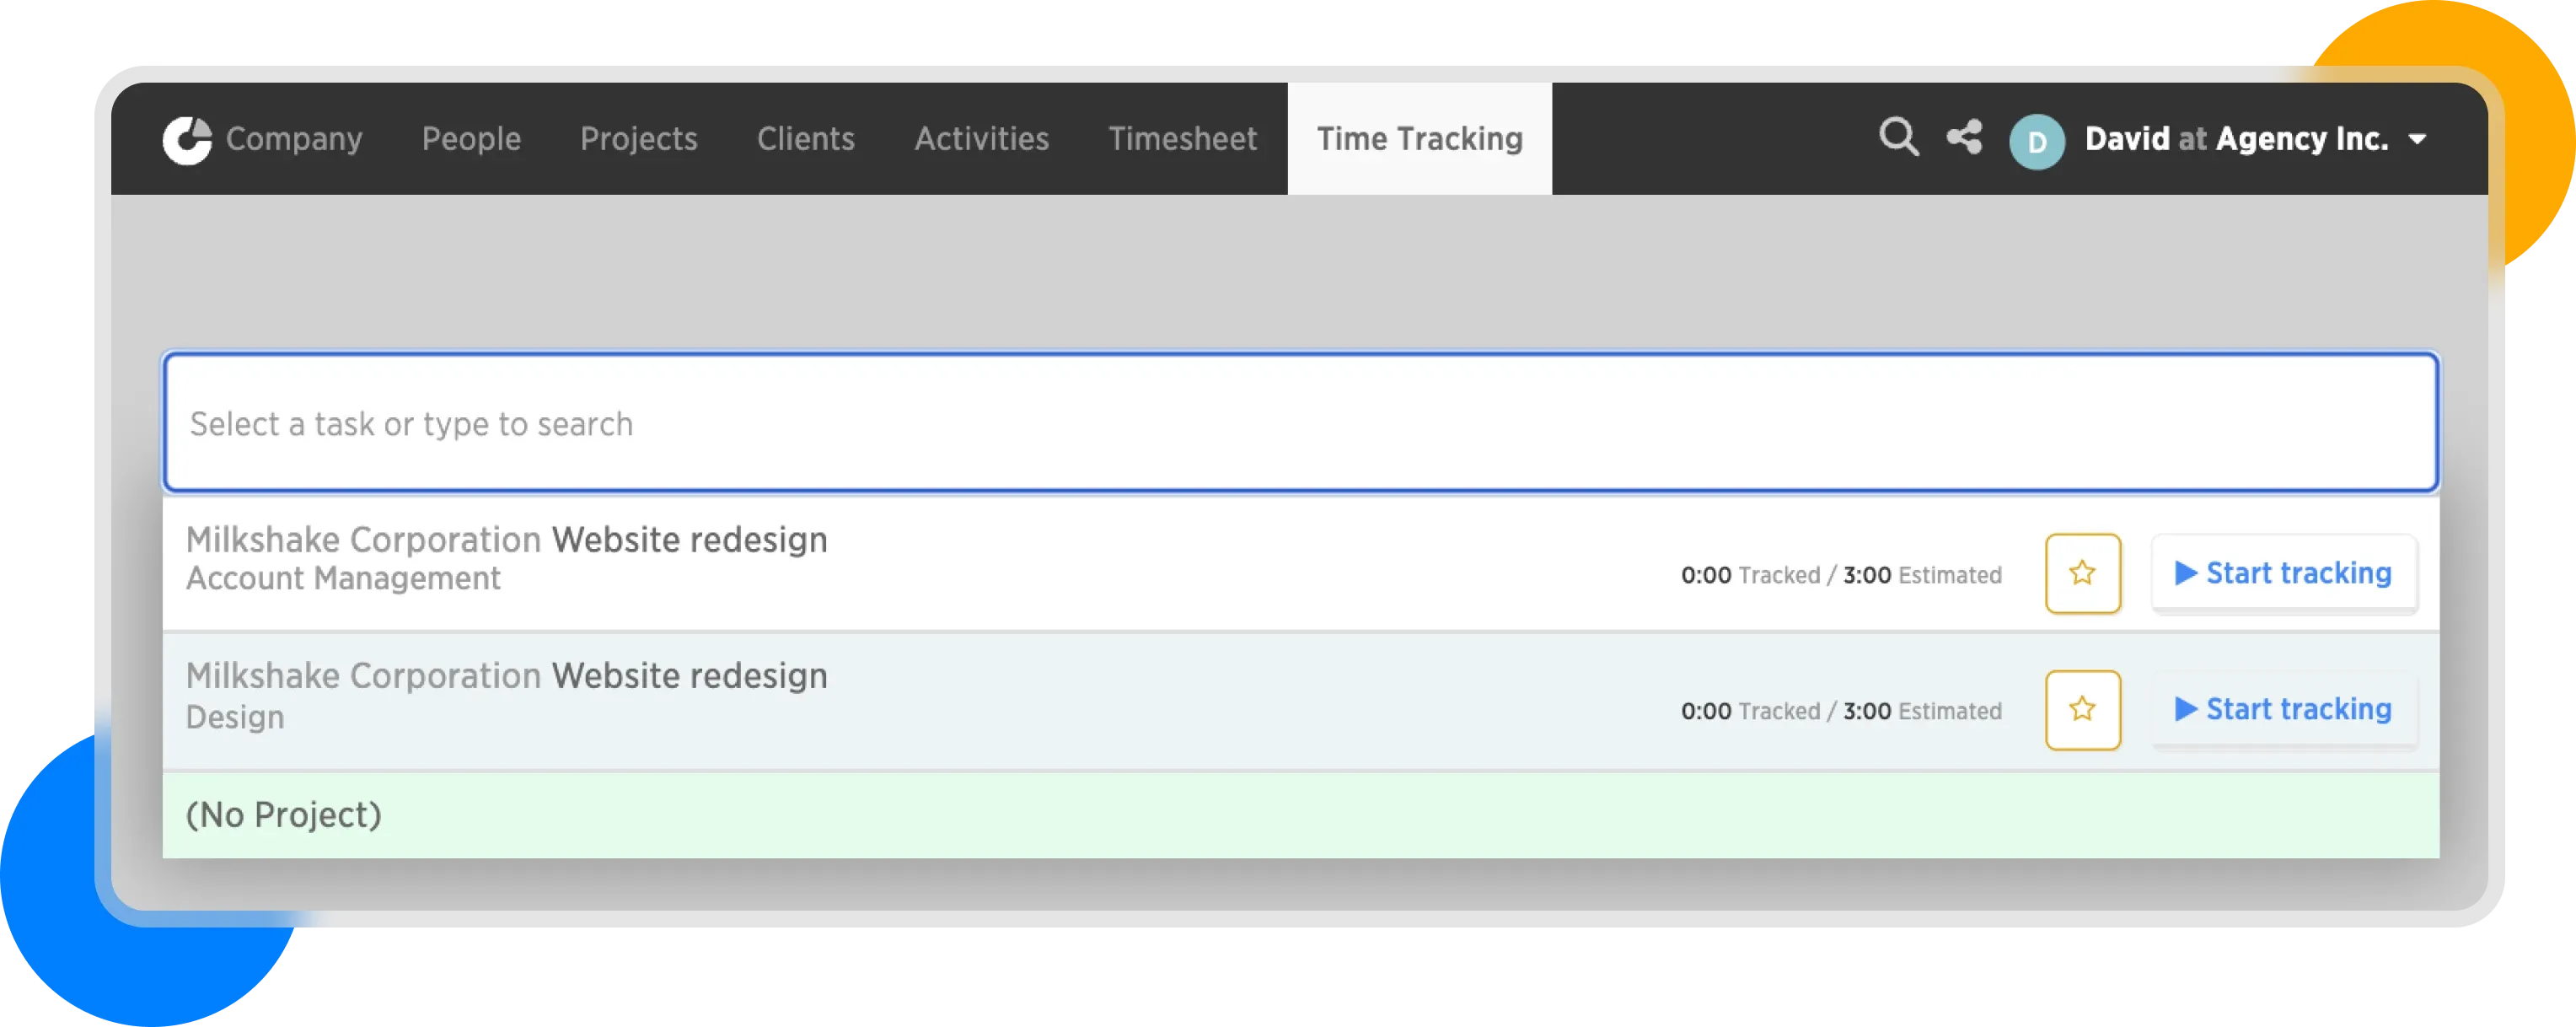
Time Tracking - select/ search
On the left side of the table, you always see:
- Client Name - Project
- Activity
On the right side:
- How much time has already been recorded for the task
- Total estimated time for the task
In our case, we select
Milkshake Corporation - Website redesign - Design
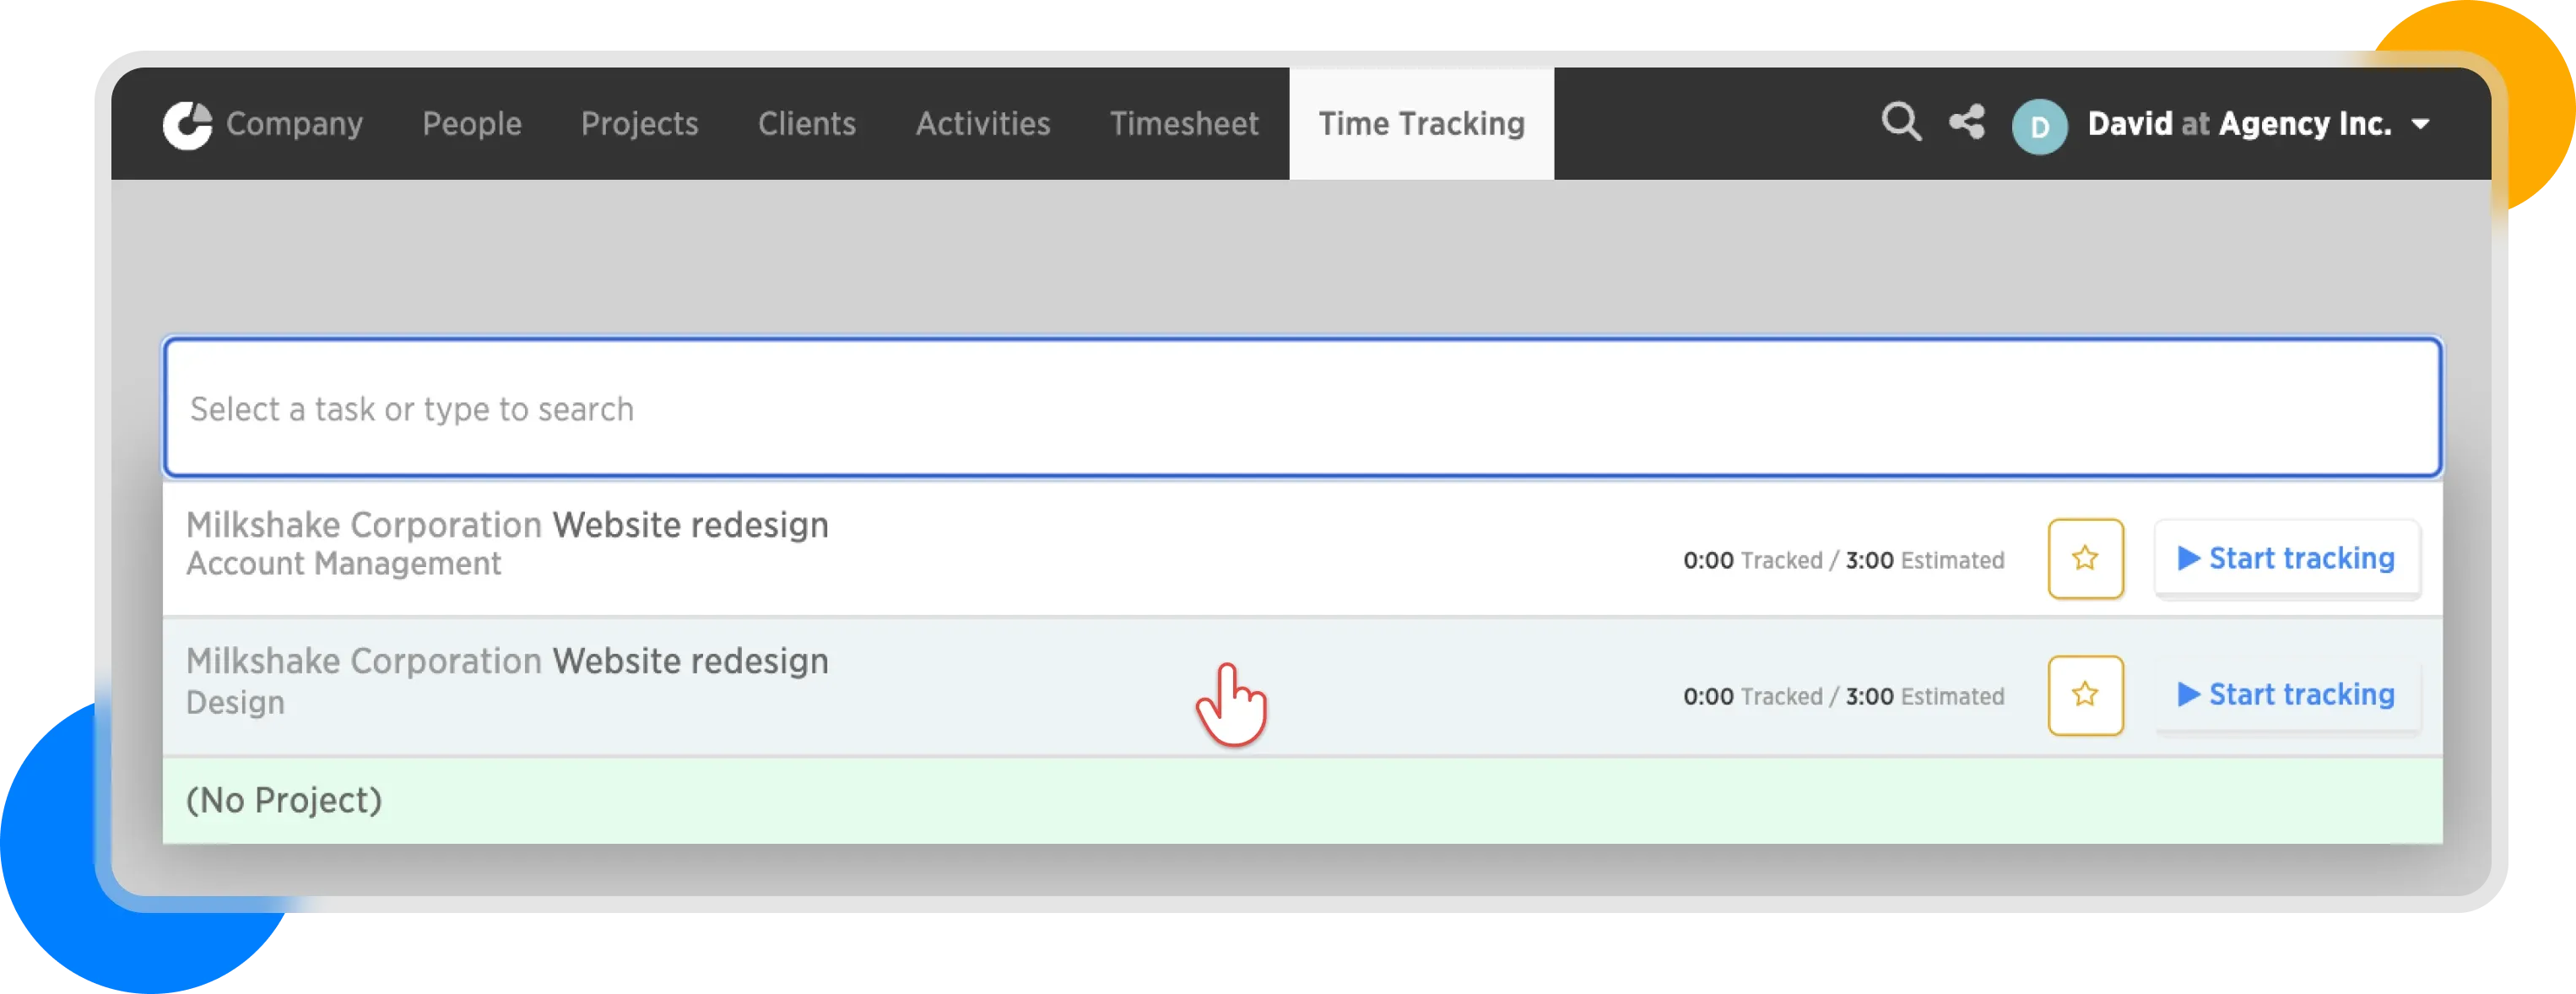
Time Tracking - activity select
Next, we proceed by filling in the description, which is used to specify what you did on the task.
We choose Preparing the design system and then start the timer by clicking the start button.
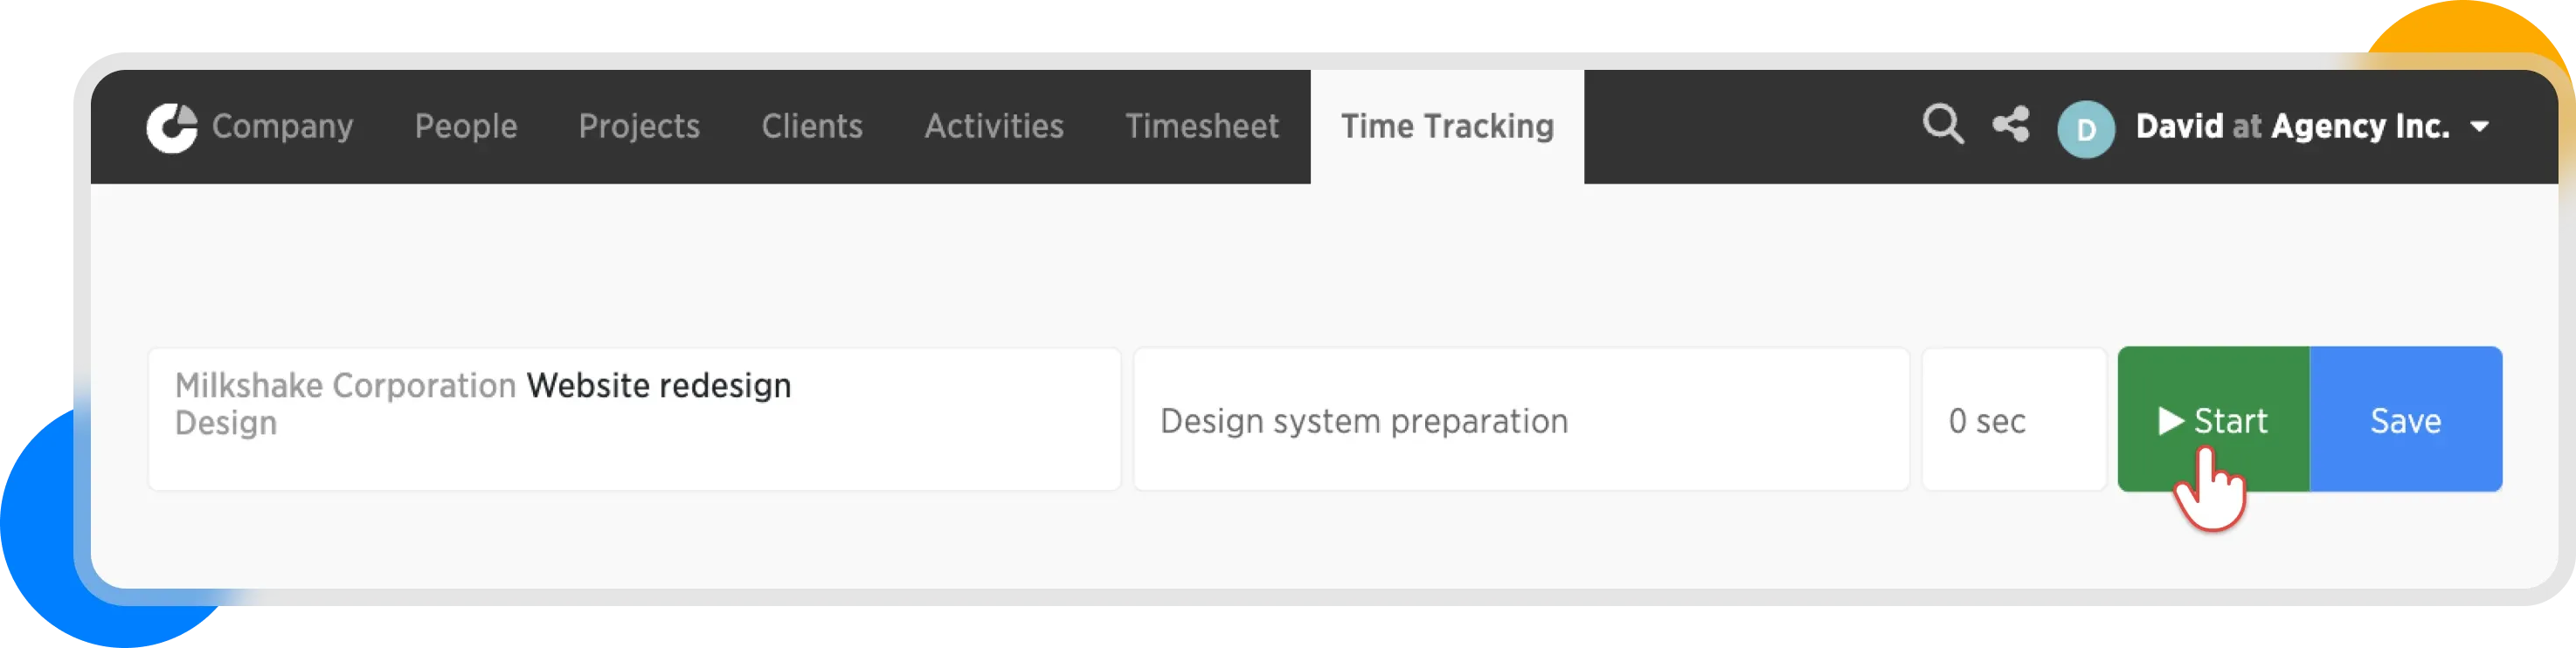
Start Time Tracking
This starts the timer, which measures the current activity you are working on:
Time Tracking - Running
If you want to change the start time of the activity, simply click on the time field and overwrite the Start Time. After closing the calendar, the start of the timer will automatically move to the selected time.
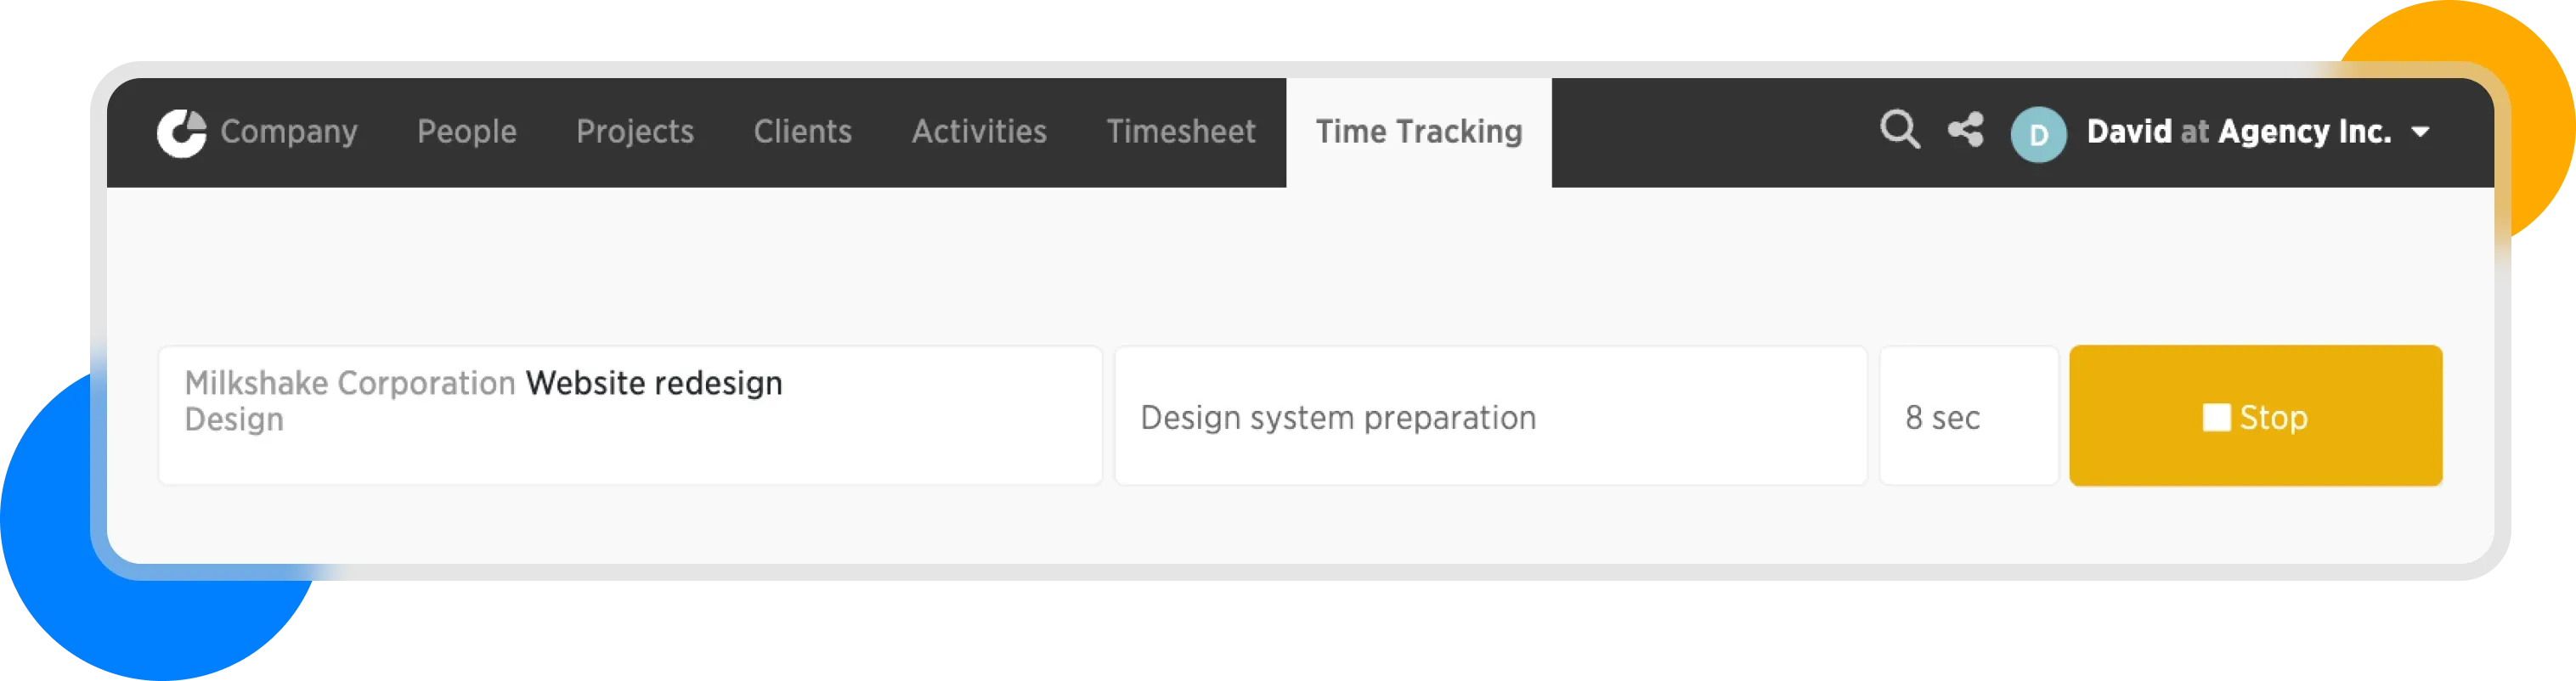
For our example, we move the start time back by 2 hours and stop the timer by clicking the Stop button.

Time Tracking - Stop
A time entry now appears in the table as a form:
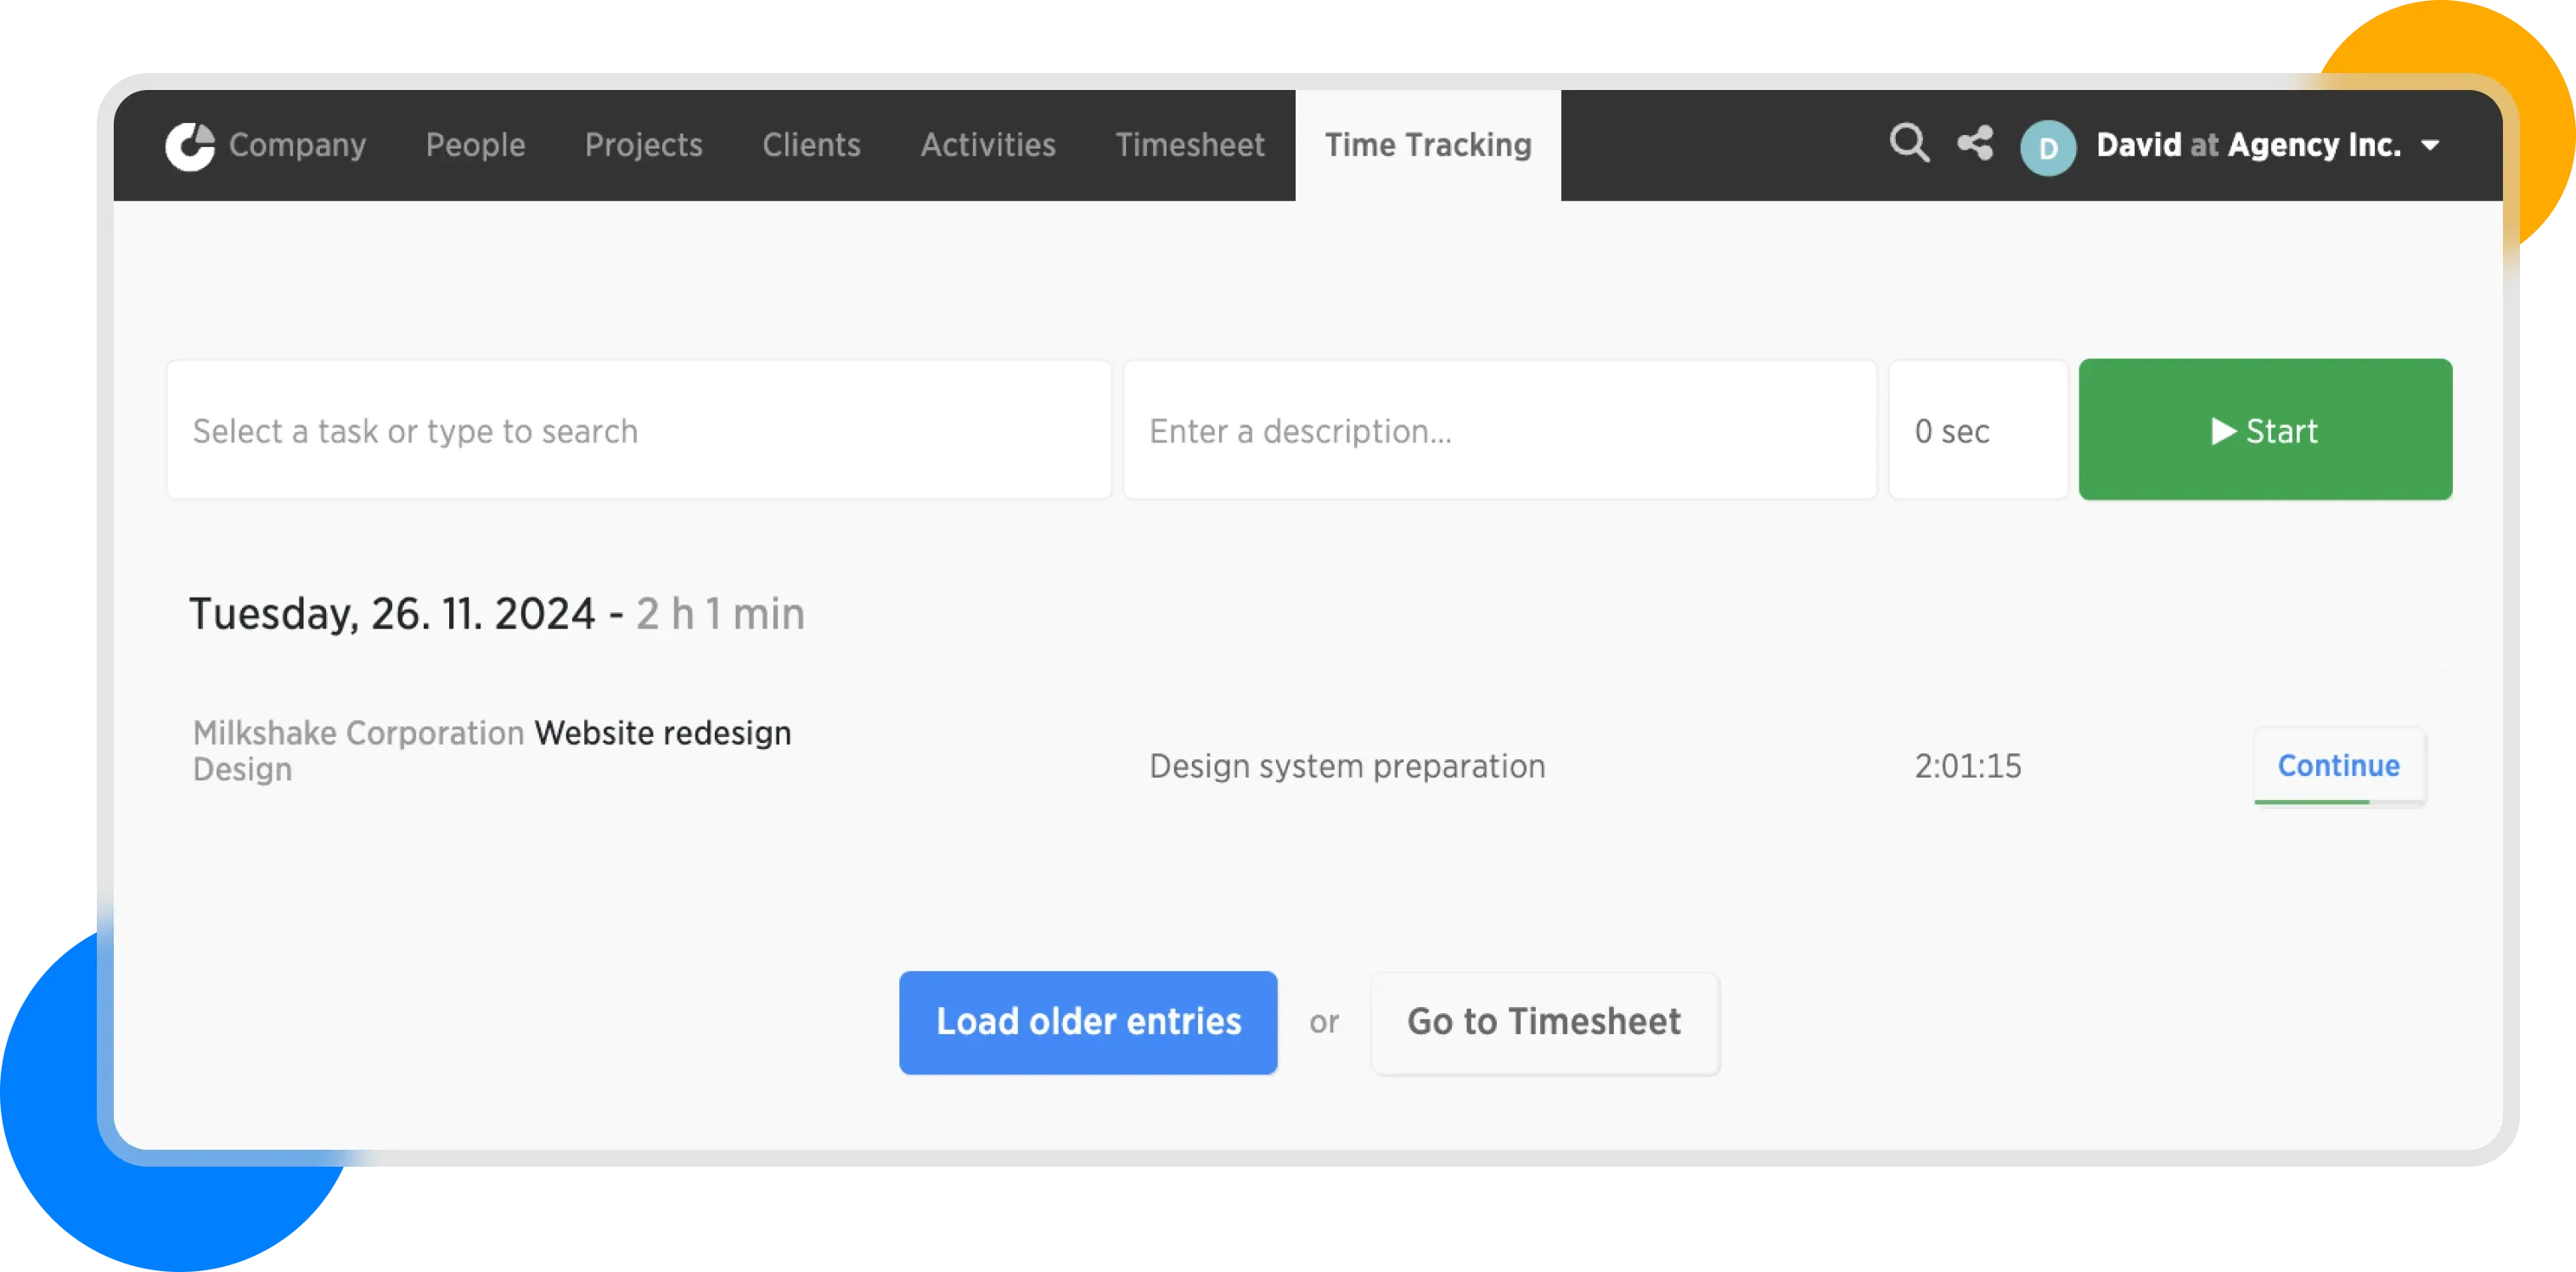
Logged Time Track
Adding Time Without Using the Timer
We will proceed similarly here. However, instead of selecting the Design activity, in the same project, we select Account Management.
In the description field, we write Client Meeting.
Next, instead of using the timer, we click on the time entry field, enter 2h, and click the save button.
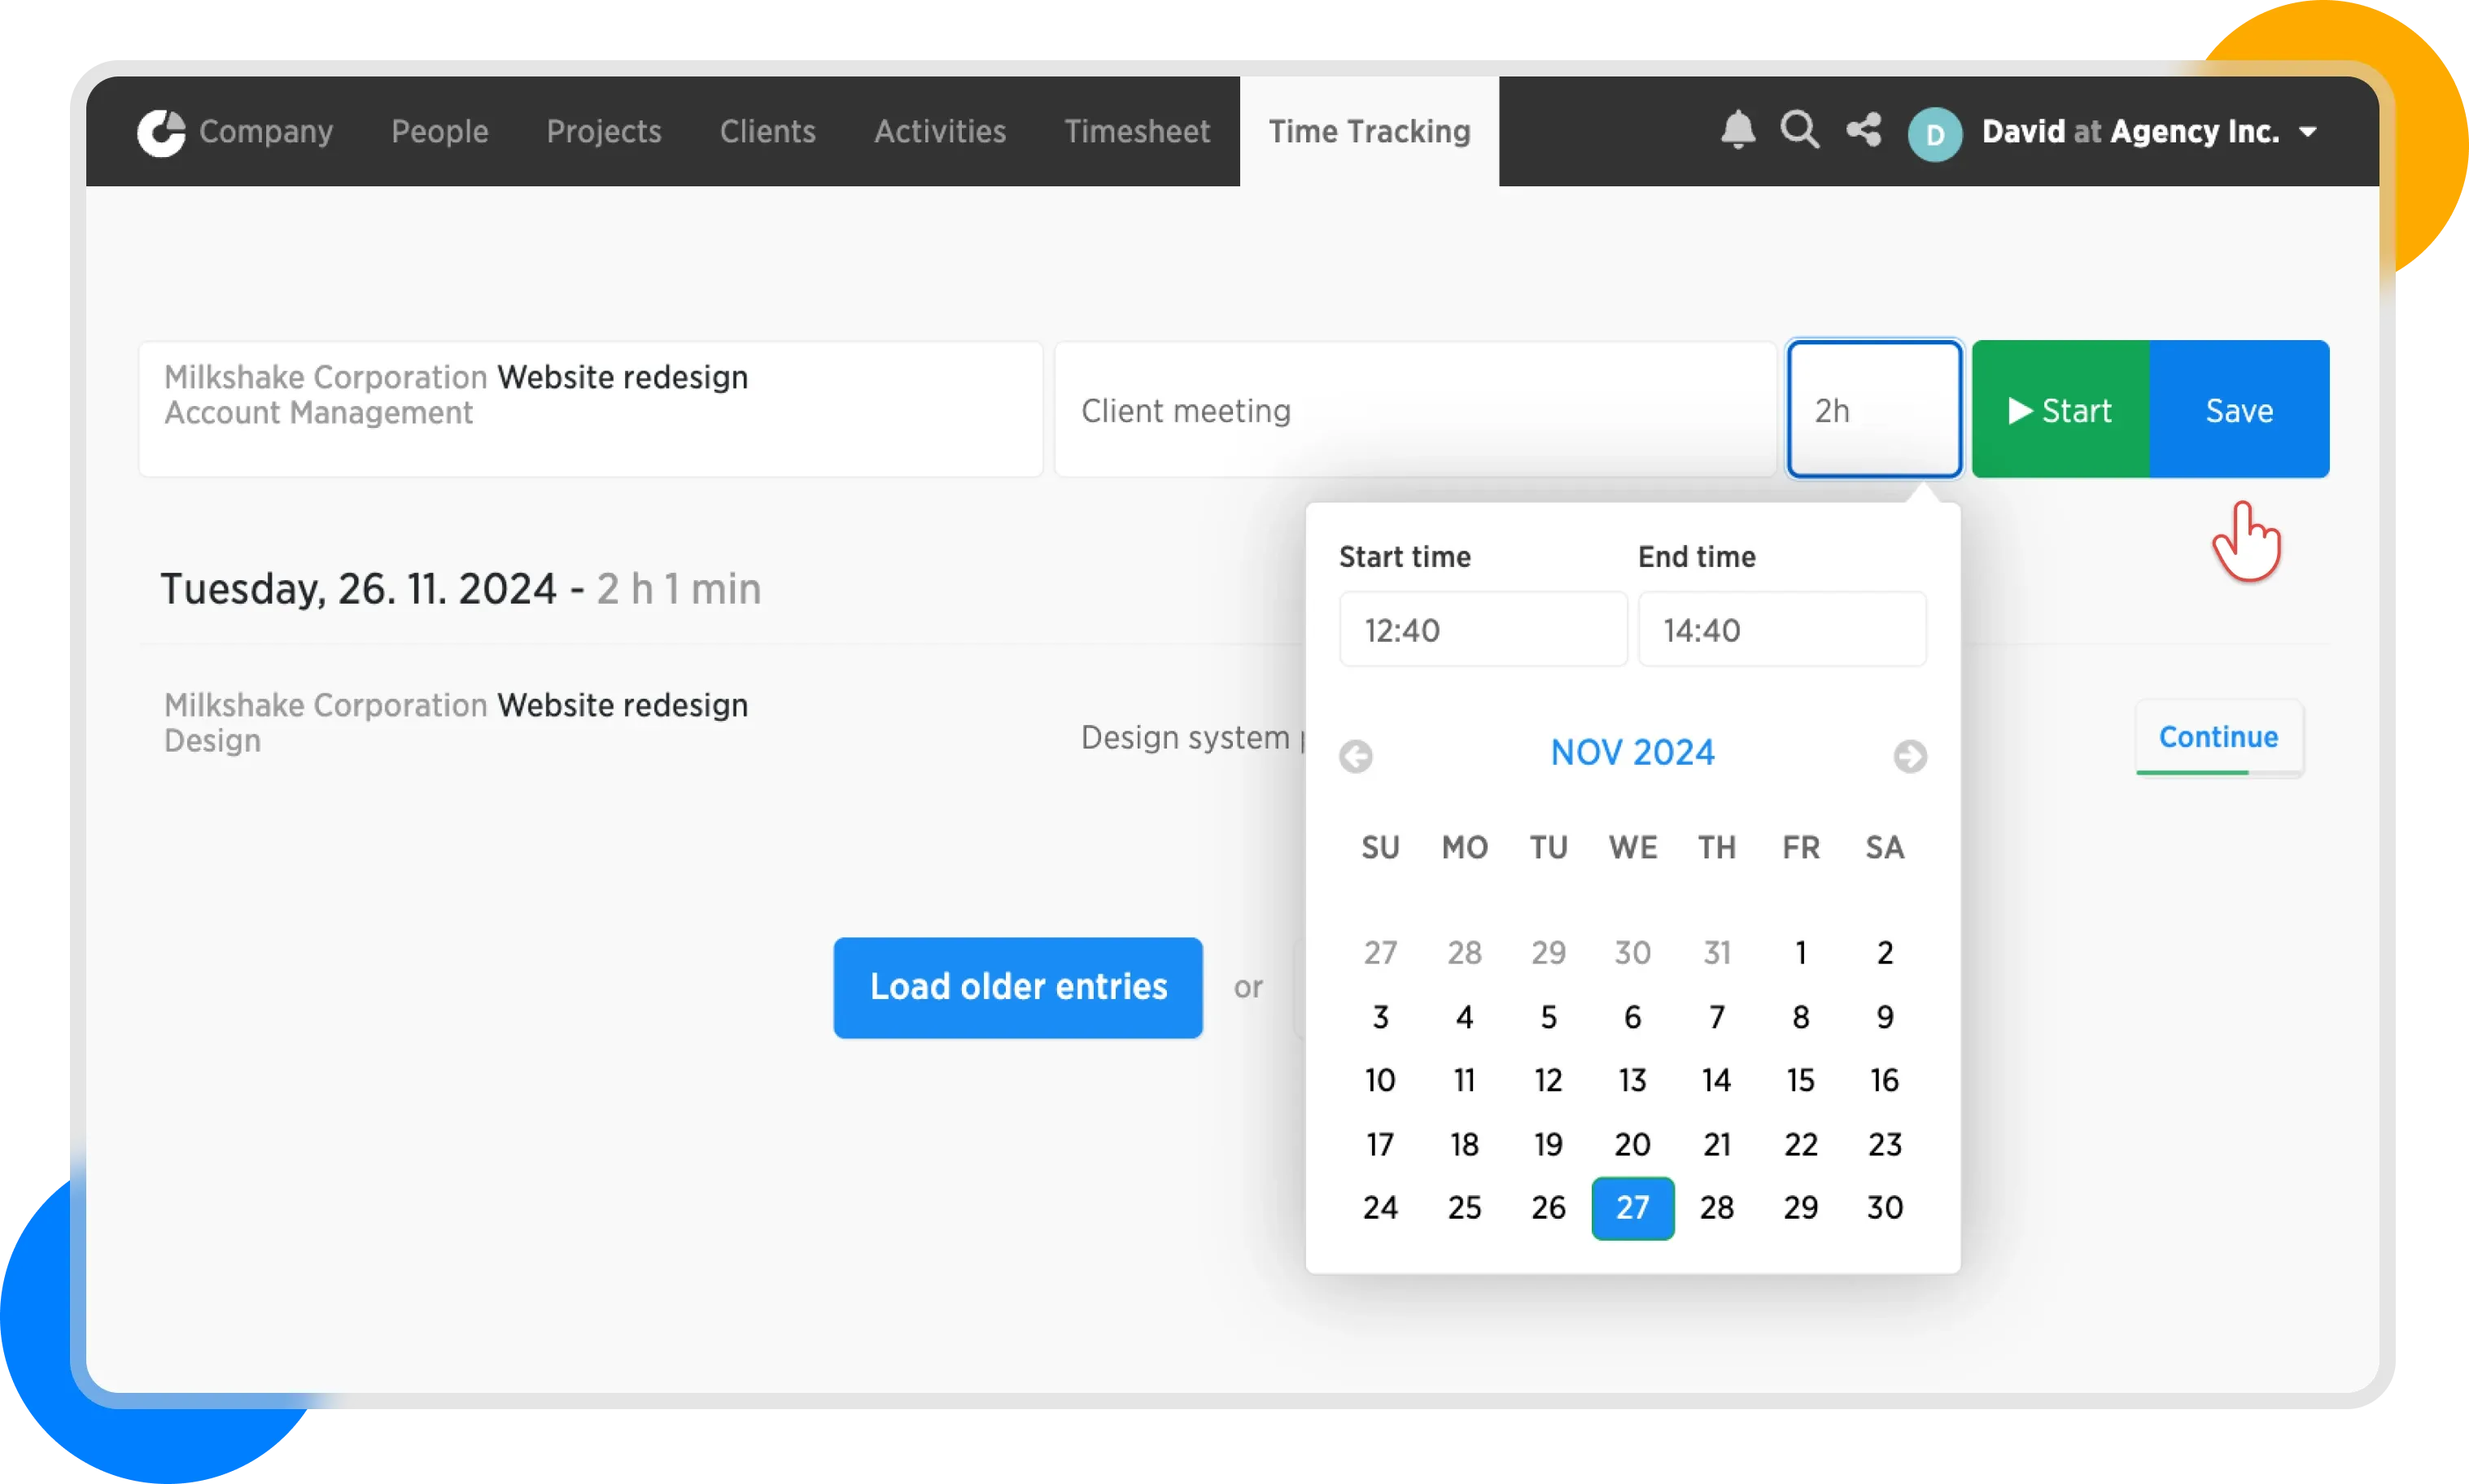
Saving a Time track without using a stopwatch
This saves a separate time entry with a duration of 2 hours.
- 15m - 15 minutes
- 1h15m - 1 hour, 15 minutes
- 2:30 - 2 hours, 30 minutes
Our timesheet currently looks like this:
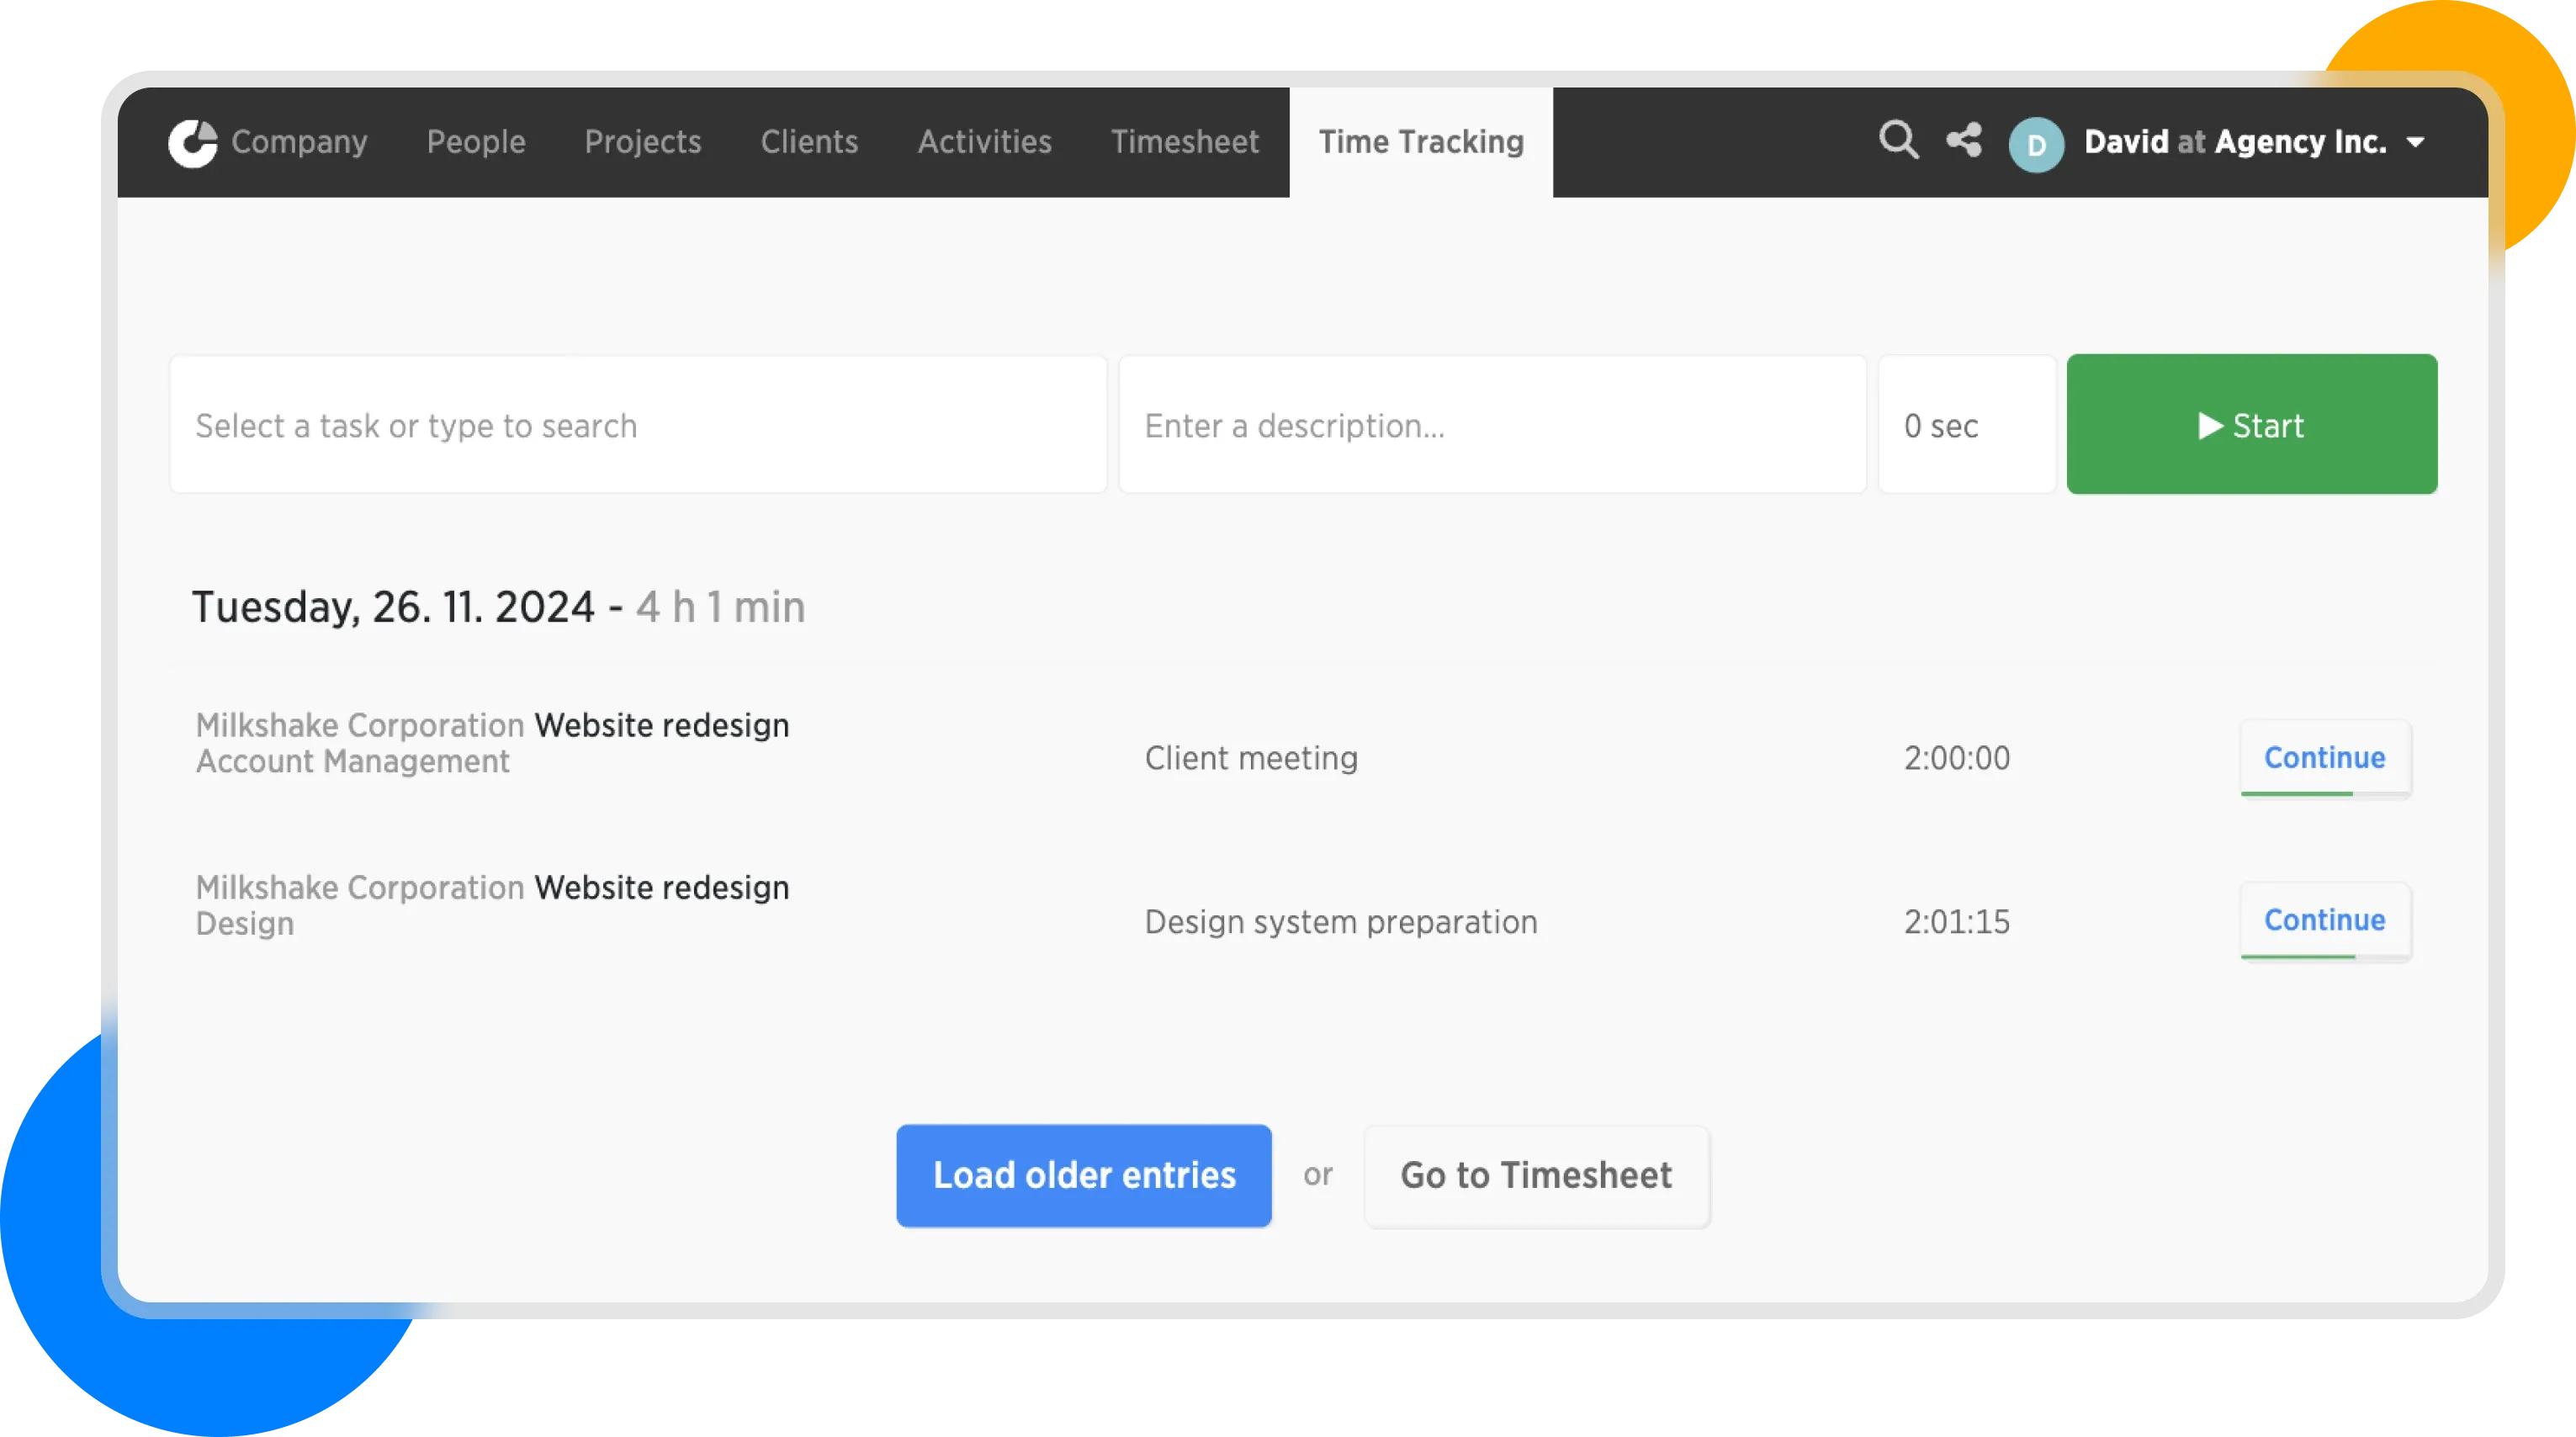
Time entries in Time Tracking