Integration with Make
Make is a no-code platform that allows you to integrate Costlocker with over 1,000 applications.
Here is a basic guide on how to create a scenario in Make and connect it with our application.
Creating a Scenario in Make
- Log in to your account at make.com 🔗 and navigate to the Scenarios page.
- Click on New Scenario.
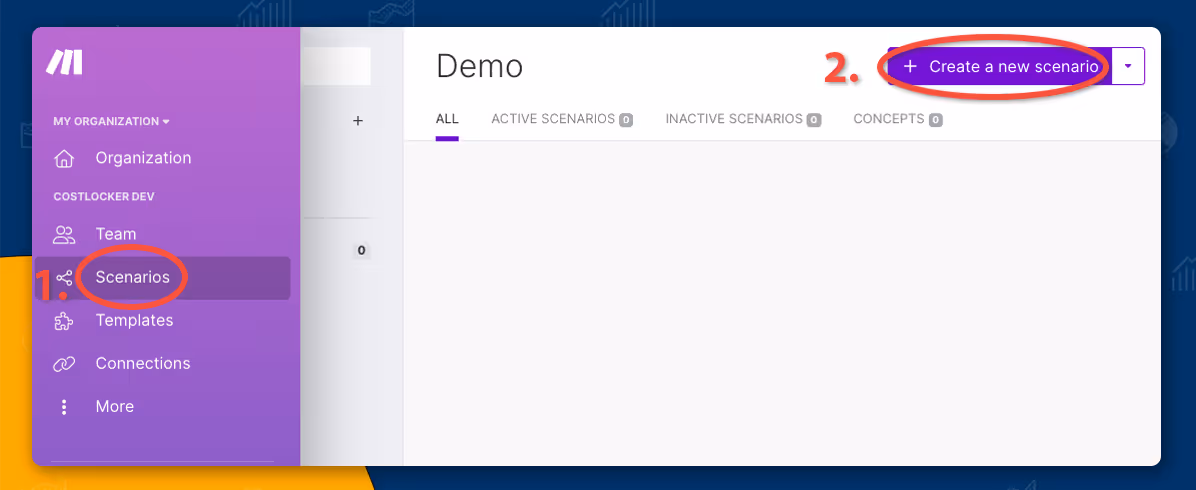
Make - create a new scenario
Creating a Connection with Costlocker
1. Click on Plus and select Costlocker.
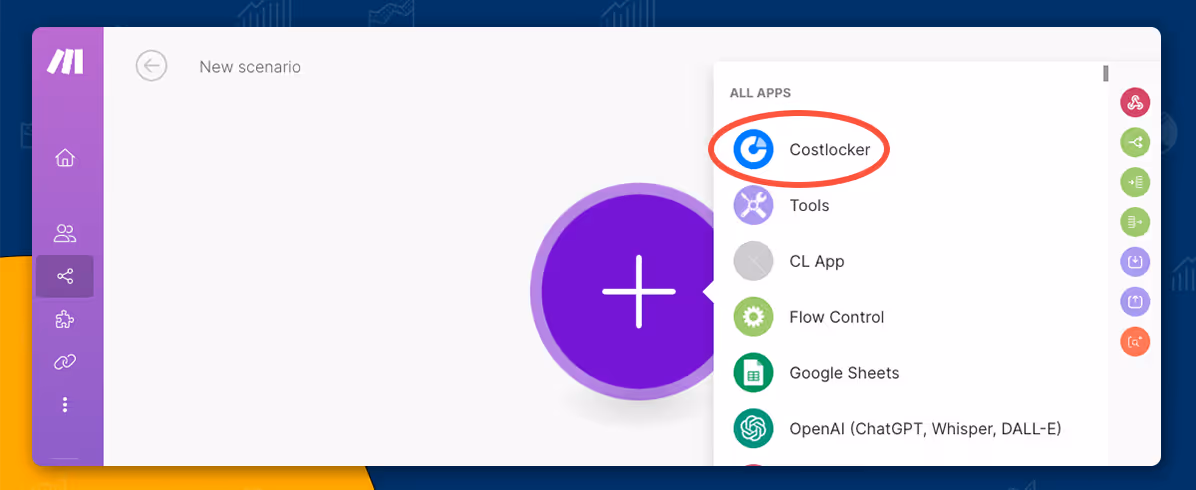
Costlocker integration
2. Select the Costlocker module - In our example, List Projects .
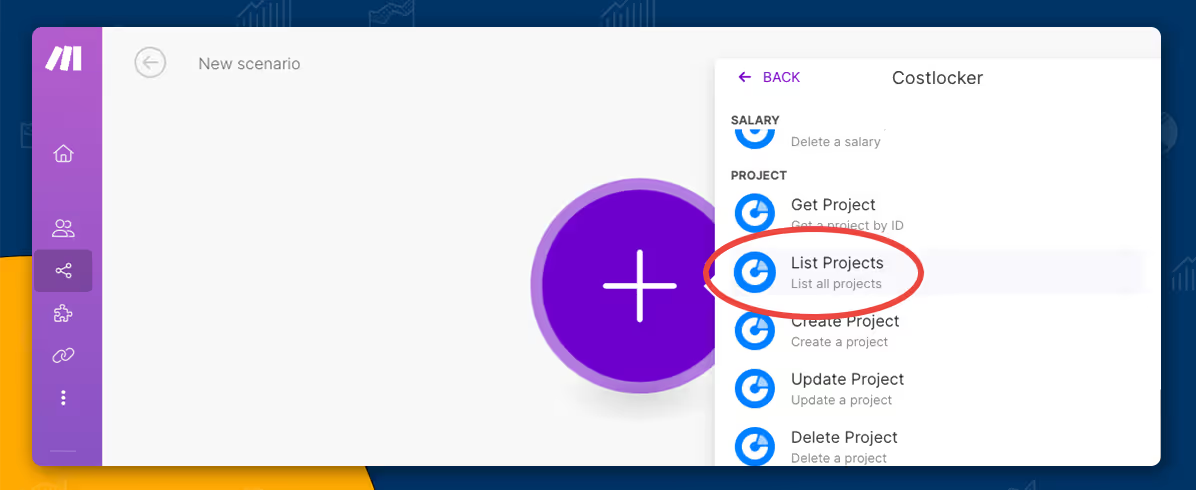
Creating new scenario - List Projects
3. In the Connection section, click on Add button.
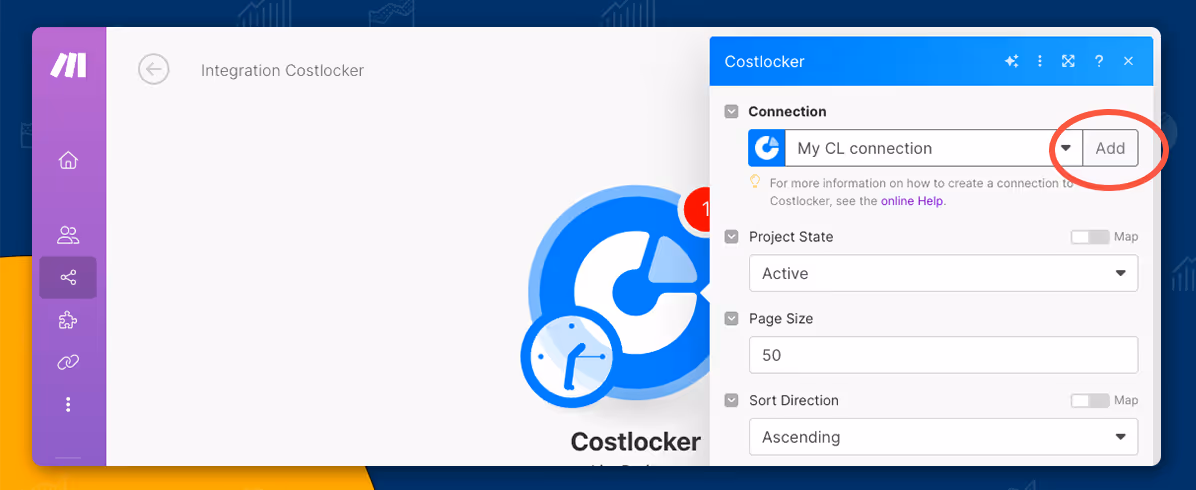
CL Connection - add new
4. Name your connection, enter the API token, and click Save.
💡 How to obtain a personal API key can be found in the article How to Generate a Personal Token.
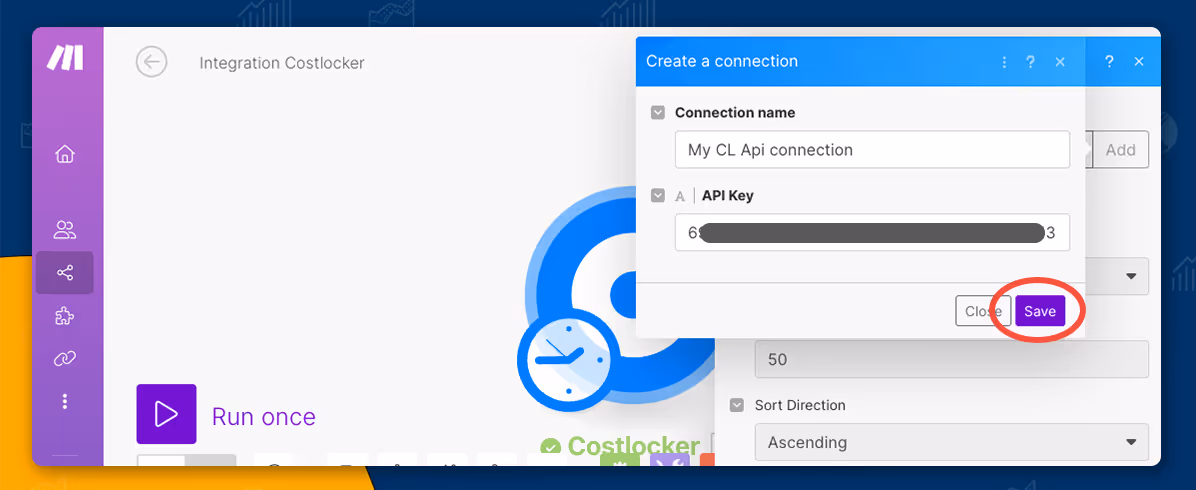
Inserting an API token
5. Verify the Connection
Click on Connections and you will see your newly created connection. To verify its functionality, click the green Verify button.
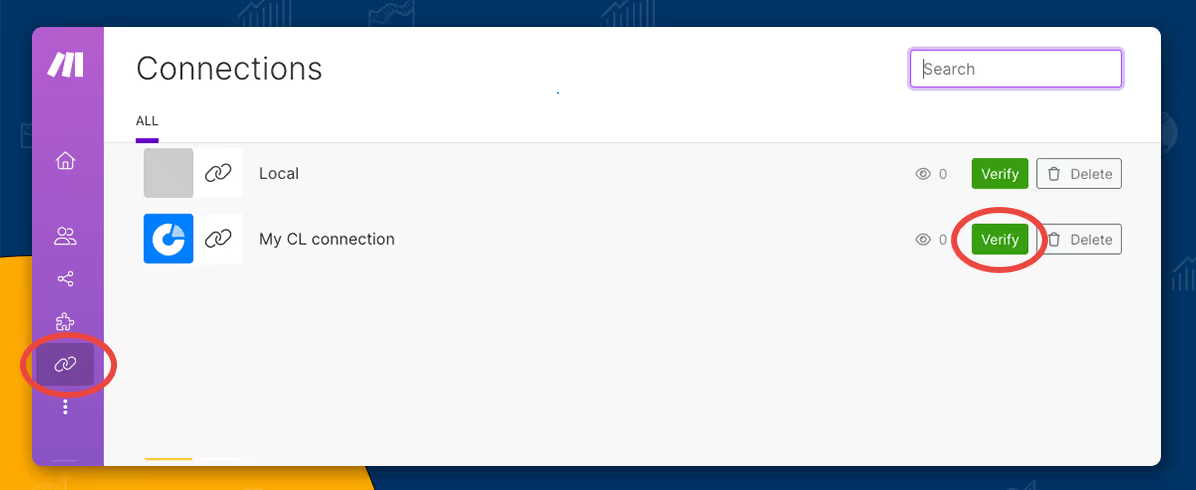
Make - Connections
Sample Scenario: How to Keep an Updated List of Projects from Costlocker in Google Sheets.
To show you how to use Costlocker with Make, we will create a simple integration between Costlocker and Google Sheets. This integration will automatically synchronize all active projects from Costlocker to Google Sheets daily.
💡 For detailed information on how to create the scenario and connection, please read the article above.
⚠️ The example below is for demonstration purposes only. For creating more complex integrations, refer to Make's documentation or contact no-code platform professionals.
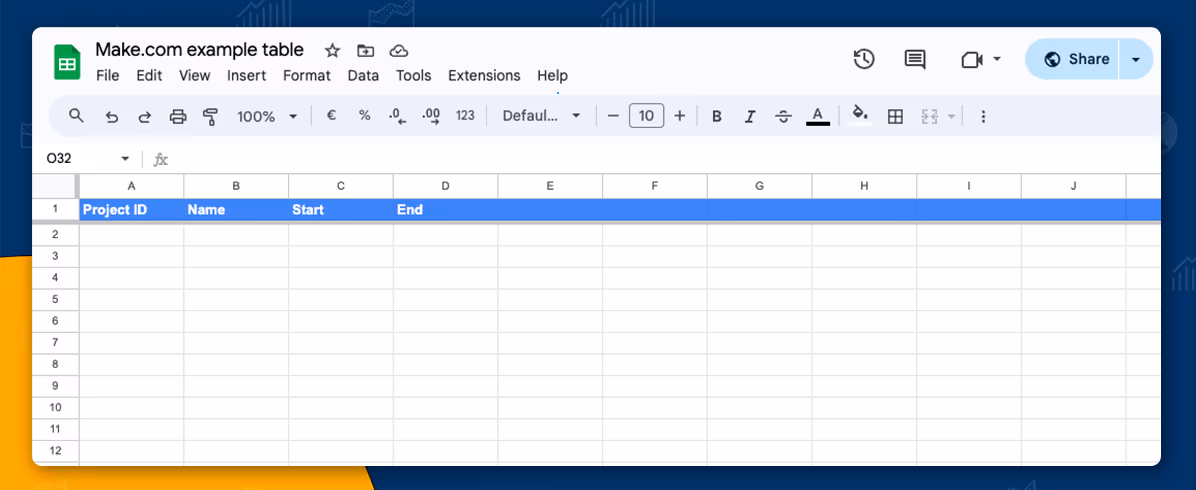
Preparing the Google Sheets Table for Data Synchronization
Prepare the table where you want to store project data from Costlocker.
In our example, we will use the following structure:
Creating the Scenario
1. Create a new scenario and add the List Projects (Seznam projektů) module from the Costlocker application
Create a scenario and start with the List Projects (Seznam projektů) module.
The default module settings will load all active projects sorted by project ID.
This list will later be saved to Google Sheets in the scenario.

Creating crenario - a List Projects
2. Set the timing to run the scenario every day at 2:00 AM
- Click on the clock icon next to the module icon
- Set the Run scenario to Everyday
- Set the time to 2:00
Autostart settings
3. Add the Google Sheet application and the Add row module
This module will allow us to add each project to a separate row.
Adding a Google Sheet Module -> Add Row
4. Create a connection to your Google Sheets account
Instructions on how to connect Google Sheets with Make can be found in the Make.com documentation 🔗.
5. Connect the module to your Google Sheet
Select the table you created in the first step—the file where you want to download data from Costlocker.

Linking a module to a Google Sheet
6. Map the project data from Costlocker to the correct columns in the Google Sheet
In this step, you choose which project fields from Costlocker you want to link to specific columns in the Google Sheet.

Mapping fields from Costlocker to Google Sheet
7. Test Your Integration
Click the Run Once button to immediately execute the scenario. Your data from Costlocker should start loading into your Google Sheet right away.
Please let us know what integrations you have created using make.com.